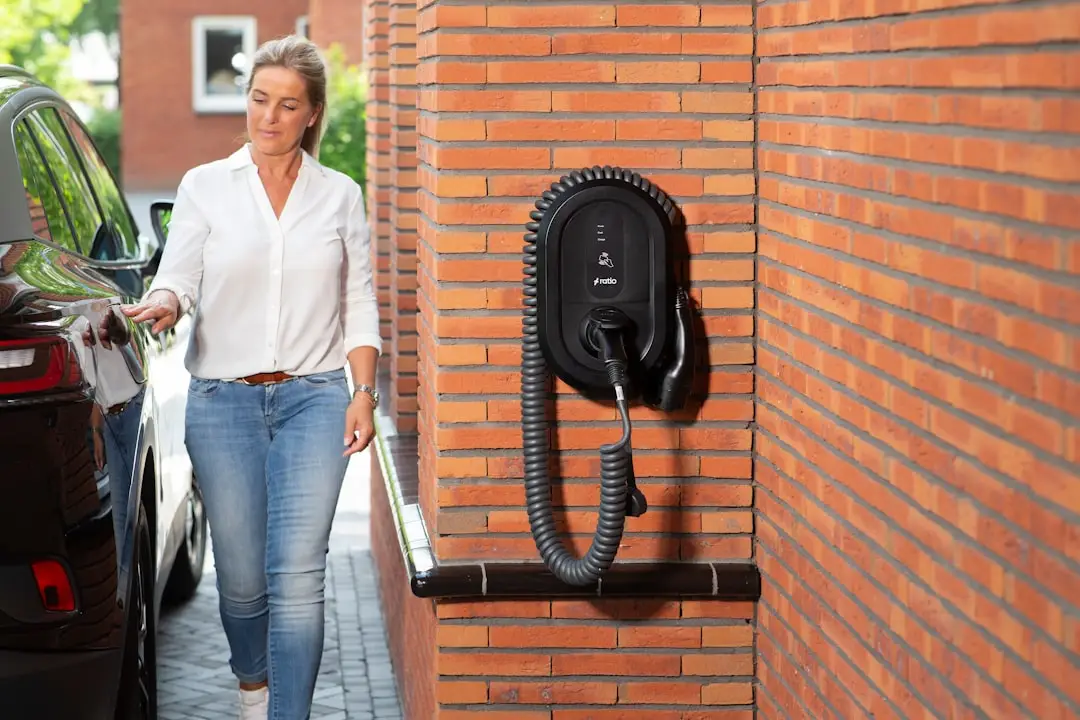
Why EV Charger Home Installation Is Worth It (And How to Get It Right)
EV charger home installation is the process of adding a dedicated charging station to your home so your electric vehicle is ready every morning — no public stations, no waiting, no hassle. Here’s what most homeowners need to know upfront:
Quick answers at a glance:
| Question | Short Answer |
|---|---|
| Best charger type for home use | Level 2 (240V) — charges 25–40 miles of range per hour |
| Typical total cost | $1,200–$2,500, averaging around $2,442 in 2025 |
| Do you need a permit? | Yes, in almost every U.S. jurisdiction |
| Does insurance or rebates help? | Yes — federal tax credit covers 30%, up to $1,000 |
| How long does installation take? | 3–6 weeks start to finish; labor is usually one day |
| Do you need a licensed electrician? | Yes — high-voltage work requires a licensed pro |
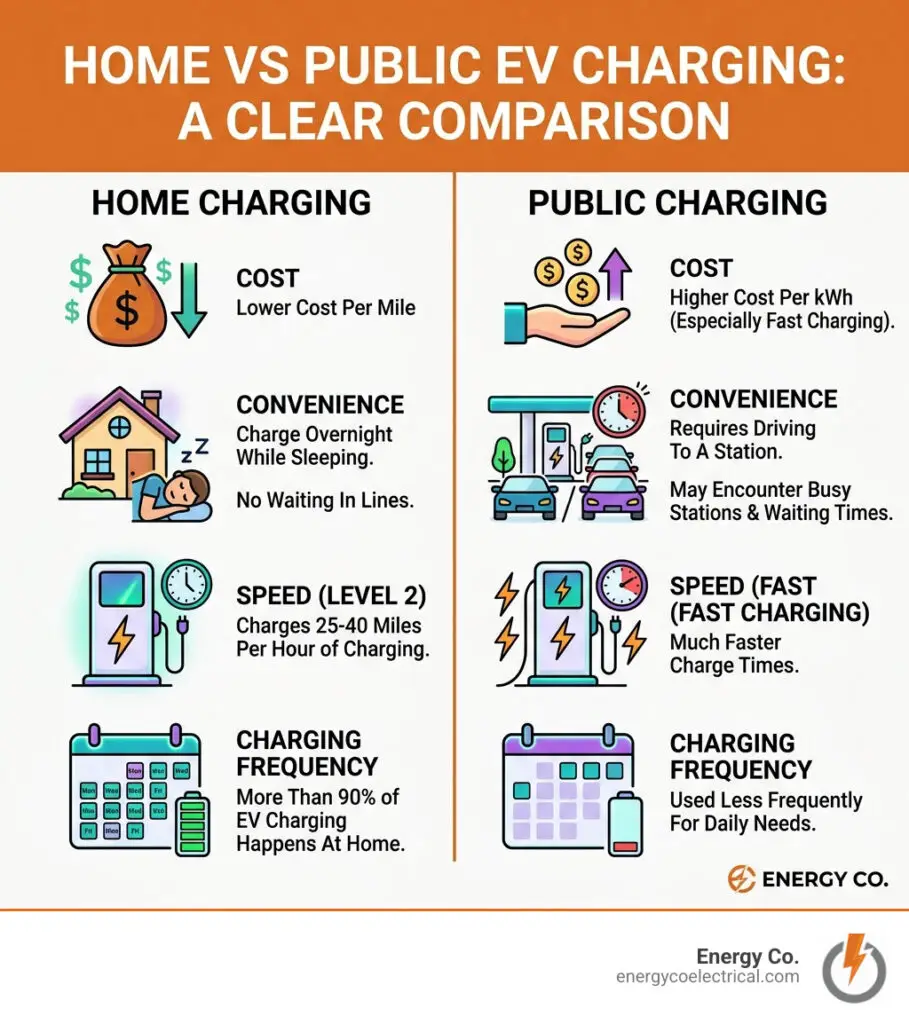
More than 90% of EV charging happens at home once a Level 2 charger is installed. That single fact changes everything about how you think about owning an electric vehicle.
Yet many homeowners put off the process because it feels complicated. Will my electrical panel handle it? Do I need permits? How much will it really cost? These are fair questions — and this guide answers all of them clearly.
Whether you have a newer home with a 200-amp panel and an attached garage, or an older Chicago-area property with aging wiring and limited electrical capacity, the path to home charging is more straightforward than you might think. It just requires the right information and the right team.
I’m Michał Napieralski, a licensed electrician and the expert behind Energy Co. in Schaumburg, IL, with hands-on experience in ev charger home installation across hundreds of residential and commercial properties in the Chicago suburbs. In the sections ahead, I’ll walk you through everything — from charger types and costs to permits, panel capacity, and how to avoid the most common mistakes.
Understanding EV Charger Types: Level 1 vs. Level 2
When you first drive your EV home to Hoffman Estates or Elk Grove Village, you’ll likely find a standard charging cable in the trunk. This is your “Level 1” charger. While it’s better than nothing, most of our clients quickly realize it isn’t enough for daily driving.
Level 1: The “Emergency” Option
Level 1 charging uses a standard 120V household outlet. It’s the same plug you use for a toaster or a lamp. The problem? It is incredibly slow. You’ll only add about 3 to 5 miles of range per hour. If you have a long commute into Chicago every day, a Level 1 charger would take over 24 hours to give you a full charge. We usually recommend this only for drivers who travel fewer than 30 miles a day or for plug-in hybrids with small batteries.
Level 2: The Home Standard
For 95% of homeowners, ev charger home installation means installing a Level 2 station. These require a 240V circuit—the same kind of power used by a clothes dryer or an electric range. Level 2 chargers are the “gold standard” because they add between 25 and 40 miles of range per hour. You can plug in at 8:00 PM and have a full battery by the time you head out at 7:00 AM.
Connectors: J1772 vs. NACS
In the past, the “J1772” plug was the standard for all non-Tesla EVs. However, as of April 2026, many manufacturers have shifted toward the North American Charging Standard (NACS), which was originally Tesla’s design. Don’t worry—adapters are widely available, and most modern charging stations we install can be configured to work with any vehicle.
| Feature | Level 1 Charging | Level 2 Charging |
|---|---|---|
| Voltage | 120V (Standard Outlet) | 240V (Dedicated Circuit) |
| Range Added per Hour | 3–5 miles | 25–40 miles |
| Typical Charge Time | 20–40+ hours | 4–10 hours |
| Installation Needed? | No (Plug and play) | Yes (Professional required) |
| Electrical Requirement | 15-amp circuit | 40-amp to 60-amp circuit |
The Cost of EV Charger Home Installation
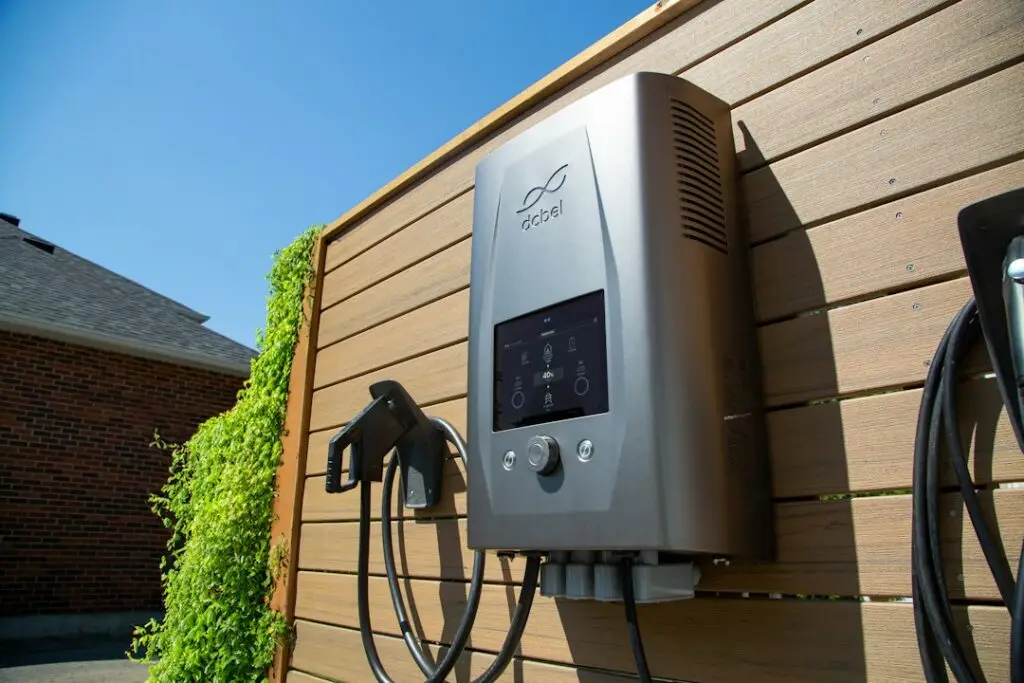
One of the first things we discuss with our neighbors in Palatine or Rolling Meadows is the budget. While the average cost of ev charger home installation in the U.S. was approximately $2,442 in 2025, your specific price depends on several variables.
Breaking Down the Expenses
- The Equipment ($400 – $1,000): This is the cost of the charger (EVSE) itself. High-end “smart” chargers that connect to Wi-Fi and allow you to schedule charging for off-peak hours (when electricity is cheaper) tend to be on the higher end.
- Labor and Materials ($300 – $2,000): This covers the wiring, conduit, the new circuit breaker, and the electrician’s time. If your electrical panel is right next to where you park, labor costs are low. If we have to run wire across the house or through a crawlspace, the cost increases.
- Permits and Inspections ($50 – $300): In Cook County and across the Northwest Suburbs, a permit is mandatory. This ensures the work is safe and documented for insurance purposes.
Incentives and Rebates (April 2026 Update)
The good news is that you rarely pay the full sticker price.
- Federal Tax Credit: As of now, the federal government offers a tax credit covering 30% of the hardware and installation costs, up to $1,000.
- ComEd Rebates: For our customers in the Chicagoland area, ComEd often provides rebates for ENERGY STAR certified smart Level 2 chargers. In some cases, these rebates can cover a significant portion of the equipment cost.
- Illinois State Incentives: Always check for current state-level grants, as Illinois has been aggressive in promoting EV adoption.
What Drives Costs Up?
The biggest “hidden” cost is distance. Copper wire is expensive. A 75-foot run from a basement panel to a detached garage will cost significantly more than a 5-foot run in an attached garage. If we need to perform “trenching” (digging a path underground) for a detached garage, expect the labor costs to reflect that extra work.
Assessing Your Home’s Electrical Capacity
Before we even pull a wire, we have to look at your “brain box”—the electrical panel. This is where many DIY attempts go wrong.
Most modern homes built after the 1990s have a 200-amp service, which is usually plenty of room for an EV charger. However, many of the beautiful older homes in Chicago and Cicero still run on 100-amp or even 60-amp service.
The Load Calculation
A Level 2 charger is a “continuous load.” This means it draws a lot of power for hours at a time. We perform a professional load calculation to see if your current panel can handle the charger plus your AC, your oven, and your dryer running at the same time.
Signs You Need an Upgrade
- Your lights flicker when the AC kicks on.
- Your panel is full (no empty slots for a new double-pole breaker).
- You still have a fuse box instead of a circuit breaker panel.
- The panel is warm to the touch or makes humming sounds.
If your home isn’t quite ready, don’t panic. We specialize in Electrical Panel Upgrades to ensure your home can support modern technology safely. In some cases, we can use “load management” devices that automatically pause your car charging if the house starts using too much power, potentially saving you from a full service upgrade.
Navigating the EV Charger Home Installation Process
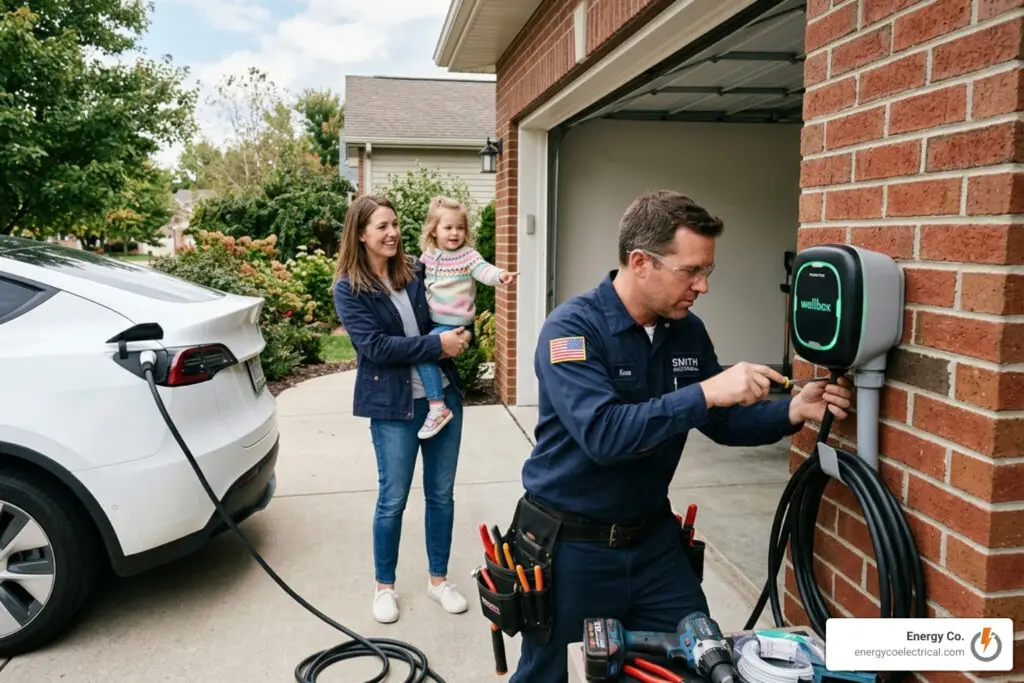
Installing a charger isn’t as simple as mounting a box on the wall. It’s a regulated process designed to keep your family safe. Following the EV Charger Installation Guide (2025) | EnergySage, we ensure every step meets the National Electrical Code (NEC).
Why You Need a Licensed Pro
We’ve seen the “Reddit special” where people try to DIY their ev charger home installation. It’s dangerous. A loose connection on a 50-amp circuit can generate enough heat to start a fire long before a breaker trips. Furthermore, if you skip the permit or the licensed professional, your home insurance might deny a claim if something goes wrong. Plus, most manufacturers will void your charger’s warranty if it wasn’t installed by a pro.
Step-by-Step EV Charger Home Installation Process
When you work with us for your residential electrical services, here is what the journey looks like:
- Initial Consultation: We visit your home in Roselle or Streamwood to look at your panel and your parking area. We provide an itemized quote.
- Permit Acquisition: We handle the paperwork with your local building department. This can take anywhere from a few days to a few weeks depending on the municipality.
- Circuit Installation: On the day of install, we run the heavy-duty wiring from your panel to the charging location.
- Mounting and Wiring: We secure the charging station to the wall and make the final high-voltage connections.
- Testing: We use a specialized tester to simulate a car being plugged in, ensuring the “handshake” between the charger and the vehicle is perfect.
- Final Inspection: A city inspector visits to sign off on the work, ensuring everything is up to code.
Selecting the Right Location for Your EV Charger Home Installation
Where should the charger go? It seems obvious, but think about these factors:
- The Charge Port Location: Every car is different. A Tesla’s port is in the rear driver-side; a Nissan Leaf is in the front. We recommend a central location in the garage or a charger with a 25-foot cable to reach any spot.
- Weatherproofing: If you’re mounting the charger outside in Hanover Park, it must be NEMA 4 rated to handle Chicago’s brutal winters and heavy rain.
- Future-Proofing: Even if you only have one EV now, you might have two in three years. We often recommend installing a circuit capable of 50 or 60 amps now, even if your current car can only handle 32 amps. It saves you money in the long run!
Special Considerations for Older Homes and Renters
Chicago is famous for its history, but that history can make ev charger home installation tricky. We frequently work in older Chicago bungalows and two-flats where the infrastructure wasn’t designed for “fueling” a car.
Older Infrastructure Challenges
If your home has knob-and-tube wiring or an old Federal Pacific panel, we’ll need to address those safety issues before adding a high-draw EV charger. Our local expertise in Chicagoland’s older buildings means we know exactly what to look for to ensure your home remains safe.
Options for Renters and Condo Dwellers
Living in an apartment in Arlington Heights or Mount Prospect? You still have options.
- Right-to-Charge Laws: Many areas now have laws that prevent landlords or HOAs from unreasonably denying you the ability to install a charger at your own expense.
- Shared Charging: Some multi-family buildings are installing shared Level 2 stations in common areas.
- Dryer Outlets: If you have a 240V dryer outlet in your garage, you can use a “smart splitter” that allows the dryer and the car to share the outlet safely (the car only charges when the dryer isn’t running).
For more detailed advice on navigating these situations, check out the How to Get an EV Charger Installed at Home (2026 Guide) | Recharged.
Frequently Asked Questions about Home EV Charging
Do I need a permit for EV charger installation?
Yes. Absolutely. We cannot stress this enough. Whether you are in Schaumburg or Chicago proper, adding a new 240V circuit requires a permit. It’s not just about the law; it’s about safety. An inspection ensures the wire size is correct, the grounding is solid, and the breaker is properly rated. It also protects your home’s resale value.
How long does the installation process take?
While the actual labor usually takes about 2 to 4 hours (a single-day job), the entire timeline from your first phone call to your first charge is typically 3 to 6 weeks. This window accounts for the time it takes to get an on-site quote, wait for the municipality to issue the permit, and schedule the final inspection.
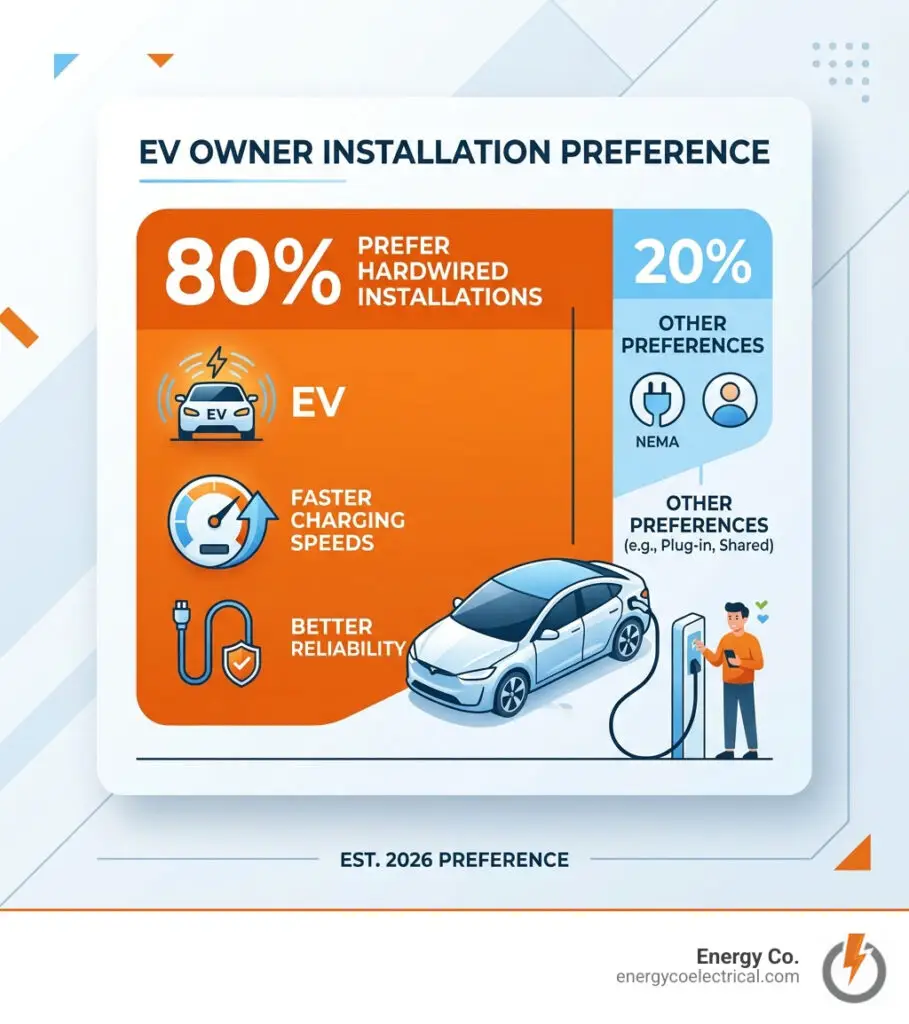
Should I choose a hardwired or plug-in Level 2 charger?
This is a common debate!
- Plug-in (NEMA 14-50): We install a heavy-duty outlet, and you plug the charger into it. The benefit? If the charger breaks or you move, you can just unplug it and take it with you.
- Hardwired: The wire goes directly into the charging unit. The benefit? It’s a cleaner look, it’s more weather-resistant for outdoor installs, and it allows for faster charging speeds (up to 48 or 80 amps), whereas a plug is limited to 40 amps by code.
Conclusion: The Future is in Your Garage
Investing in ev charger home installation is about more than just convenience—it’s about taking control of your energy. You’ll save thousands of dollars over the life of your vehicle by avoiding expensive public charging and high gas prices. Plus, a professionally installed Level 2 charger is a significant “future-proof” upgrade that increases your property value.
At Energy Co., we take pride in helping our neighbors in the Northwest Suburbs join the electric revolution safely and affordably. We don’t just pull wires; we provide peace of mind with our satisfaction guarantee and local expertise.
Ready to wake up to a full battery every morning? Schedule your professional installation with our expert team today and let’s get you plugged in!