Code Compliance and Prep for 50 Amp Spa Panel Wiring
Wiring an outdoor hot tub requires strict adherence to the National Electrical Code (NEC), specifically Article 680, which governs swimming pools, fountains, and similar installations. In Chicagoland communities—whether you are installing a spa in Schaumburg, Palatine, or Arlington Heights—local municipal codes often add specific conduit or installation requirements on top of national guidelines.
Before running a single conductor or purchasing materials, you must understand the key code requirements:
- Emergency Disconnect Location (NEC 680.13): A manual disconnect switch or spa panel must be installed within direct line of sight of the hot tub. It must be located at least 5 feet away from the inside wall of the spa to prevent occupants from touching the panel while in the water, but no more than 50 feet away for easy emergency access.
- Conduit and Trench Depth: Feeder wires routed underground outside must be protected inside appropriate conduit. Standard Schedule 40 or Schedule 80 PVC electrical conduit must be buried at least 18 inches below grade. Where wires transition out of the ground into the spa cabinet, flexible, liquid-tight non-metallic conduit (LFNC) is used to protect against weather and physical vibration.
- Conductor Sizing (
#6 THHN copper wire): A modern 240V, 50-amp 4-wire spa system continuous load calculation requires#6 AWG THHN/THWN copper wirefor the two hot legs and neutral line, paired with an insulated#10 AWG copper ground wire. Romex (NM-B cable) cannot be installed inside outdoor underground conduit under any circumstances. - Voltage Drop Calculations: If your main breaker panel is located far from the hot tub location—such as a 150-foot run from a basement panel across a deep backyard—voltage drop can degrade pump performance. While 6 AWG copper handles standard runs up to approximately 140 feet with less than a 3% voltage drop, longer runs may require upsizing to 4 AWG copper.
Selecting proper cabling is the cornerstone of a safe installation. You can learn more about cable selection in our guide on how to choose the right electrical cable for hot tub installations.
Safety Precautions and Essential Tools
Working with a 240-volt, 50-amp electrical supply presents severe arc flash and shock risks. High voltage can cause severe injury or fatal electrocution if safety procedures are ignored.
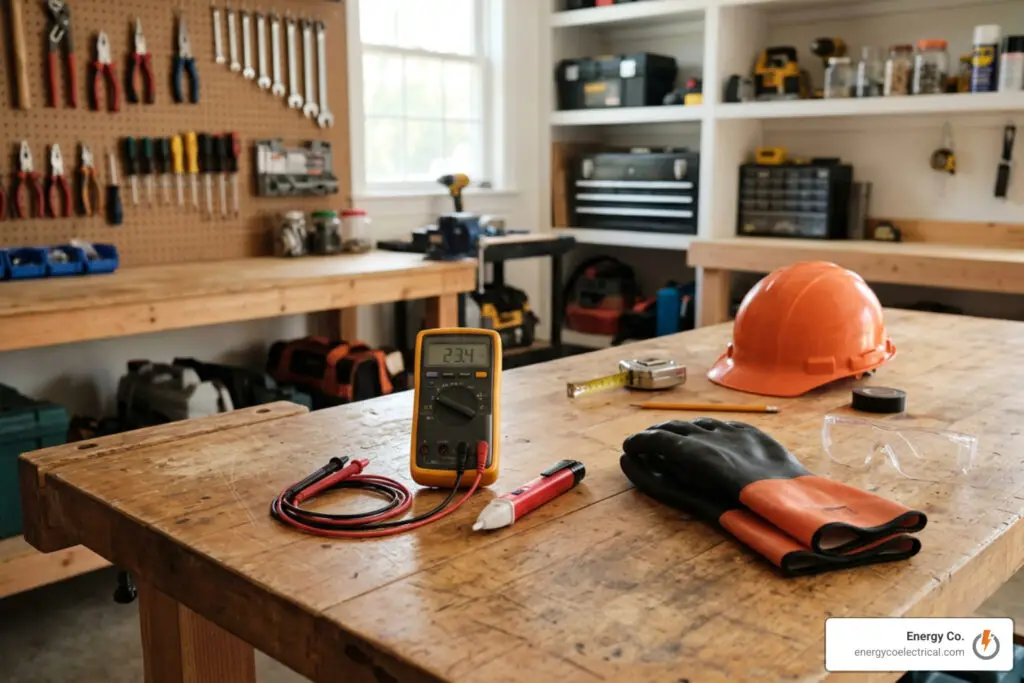
Critical Safety Rules Before Starting
- Shut Off Main Electrical Power: Locate your main breaker box and turn off the two-pole feeding breaker. If necessary for subpanel feed installation, perform a complete main disconnect shutoff.
- Lockout/Tagout Procedures: Place a lock or warning tag on the main panel cover to prevent someone else in the house from flipping the breaker back on while you are working outdoors.
- Verify Zero Voltage: Always test wires with a reliable non-contact voltage detector before touching any connection. Follow up with a digital multimeter across hot-to-hot, hot-to-neutral, and hot-to-ground terminals to confirm power is 100% off.
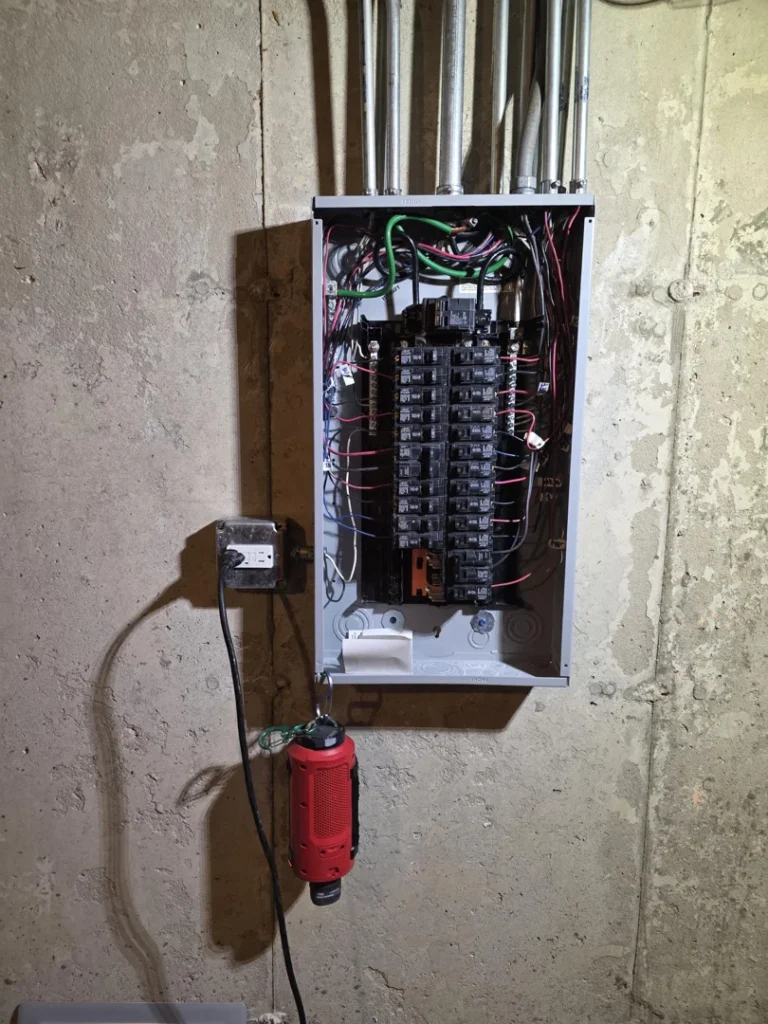
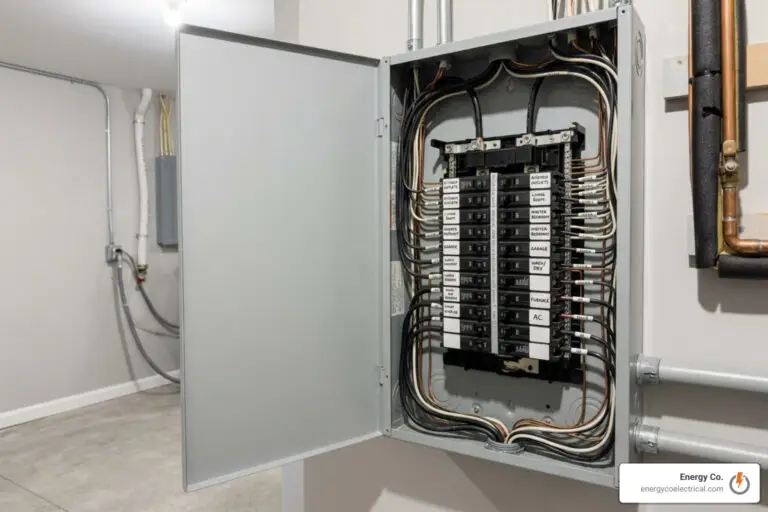
Understanding how your main breaker setup functions helps avoid costly safety mistakes. Read our breakdown on demystifying your home electric panel without getting shocked before opening any panel enclosures.
Required Supplies for 50 Amp Spa Panel Wiring
To perform a professional 50 amp spa panel wiring project, you need the right tools and code-approved materials:
- Essential Hand Tools: Heavy-duty wire strippers, linesman pliers, cable cutters, flathead and Phillips insulated screwdrivers, torque wrench or torque screwdriver, drill with hole saws, conduit bender, and fish tape.
- Electrical Testing Equipment: Digital multimeter and non-contact voltage tester.
- Enclosure and Breaker Kit: A NEMA 3R outdoor-rated rainproof enclosure equipped with an integrated 50-amp 2-pole GFCI breaker, such as the Homeline 50 Amp 2-Space 4-Circuit Spa Panel Main Lug Load Center or equivalent Eaton/Siemens models matching your system requirements.
- Conductors & Conduit: 1-inch Schedule 40 PVC conduit, 90-degree sweep elbows, PVC cement and primer, liquid-tight flexible conduit connectors, and pulling lubricant. Four THHN stranded copper wires (Black, Red, White, Green).
Subpanel Grounding and Neutral Isolation
One of the most critical electrical principles in residential wiring governs how ground and neutral wires are treated in subpanels versus main service panels.
In a home’s primary electrical panel, the neutral busbar and equipment ground bar are connected together (bonded) using a main bonding screw or strap. However, in any downstream subpanel—including an outdoor 50A spa panel—the neutral and ground systems must remain completely isolated.
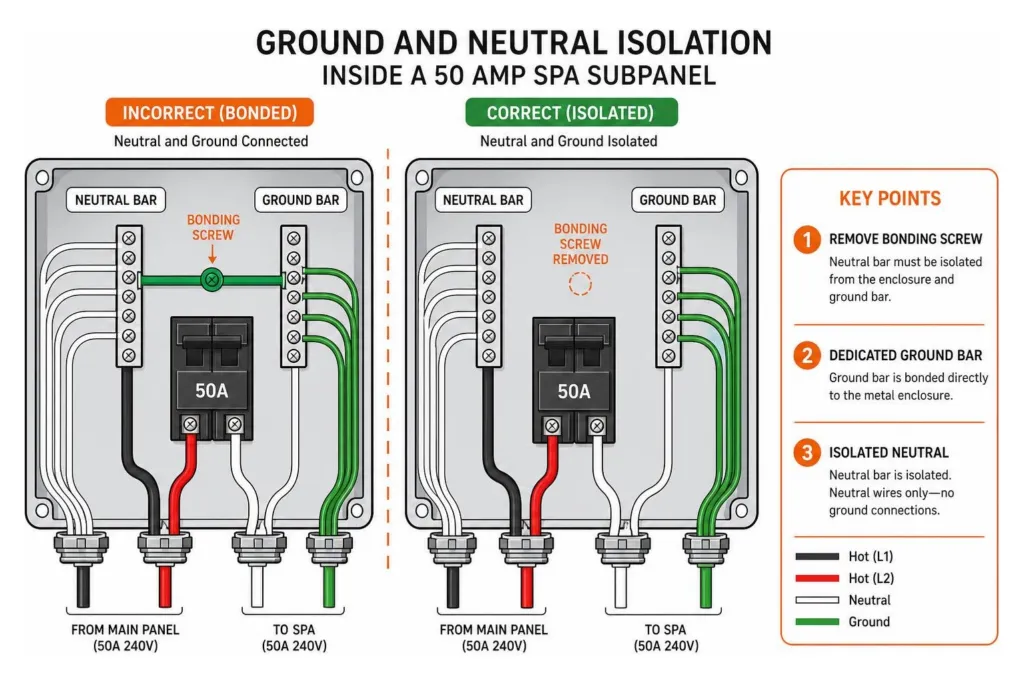
When completing your 50 amp spa panel wiring, follow these strict subpanel isolation rules:
- Remove the Neutral Bonding Screw: Spa disconnect boxes usually arrive with a green bonding screw or tie strap included. You must remove or leave this screw uninstalled so the neutral bar floats completely isolated from the metal casing.
- Install a Dedicated Ground Bar: Ensure a separate grounding bar is screwed directly into the bare metal backplate of the subpanel enclosure.
- Equipment Grounding: The incoming ground wire from the main panel connects to this ground bar, and the outgoing ground wire to the hot tub connects here as well.
Mixing neutrals and grounds inside a subpanel creates dangerous parallel paths for return current along metal conduit and metal spa equipment frames. For a deeper look into proper grounding principles, check out our guide on how to wire a hot tub the right way.
Step-by-Step Execution of 50 Amp Spa Panel Wiring
Once your conduit is glued, buried, and anchored securely to the wall, you are ready to pull wires and complete terminations inside the spa subpanel.
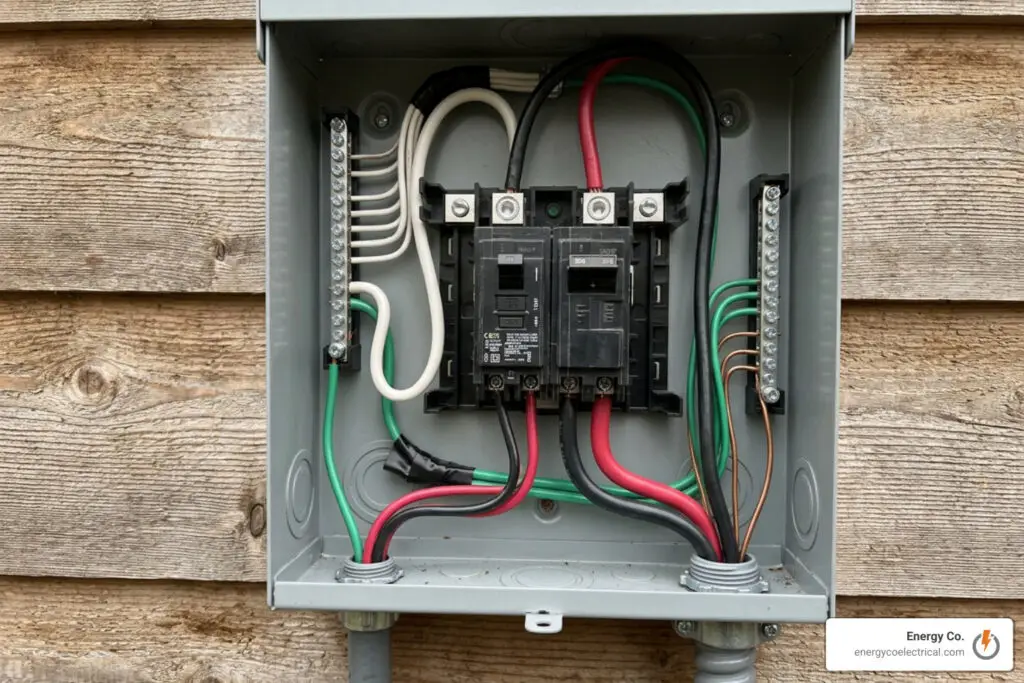
Step 1: Pull the Feeder Wires from Main Panel to Spa Panel
Using fish tape and non-flammable wire pulling lubricant, pull four stranded copper conductors through the 1-inch PVC conduit from the main household breaker panel to the outdoor spa panel:
- Hot Leg 1 (Black, #6 AWG)
- Hot Leg 2 (Red, #6 AWG)
- Feeder Neutral (White, #6 AWG)
- Feeder Ground (Green or Bare, #10 AWG)
Step 2: Wire the Feeder Side (Input Lugs) Inside the Spa Panel
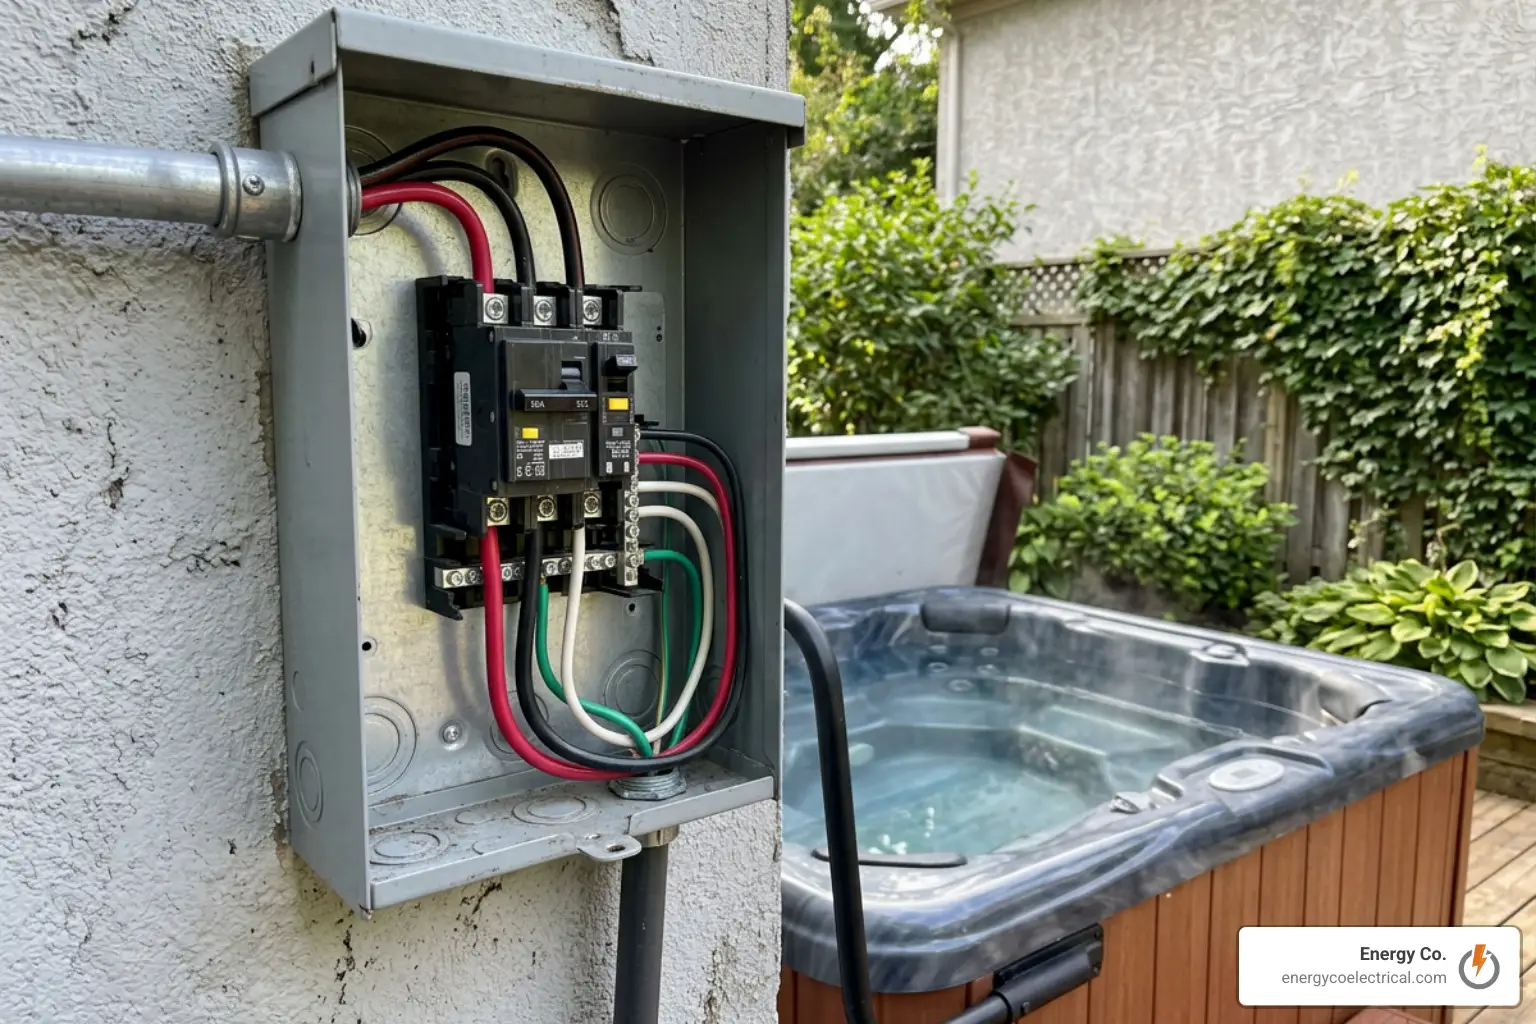
- Connect the incoming Black and Red feeder wires directly to the main incoming line lugs on top of the subpanel interior.
- Connect the incoming White feeder neutral wire directly to the subpanel’s isolated neutral busbar.
- Connect the incoming Green ground wire to the separate ground bar bonded to the enclosure.
Step 3: Wire the 50-Amp GFCI Breaker Output Connections
A 2-pole GFCI breaker in a spa panel handles ground-fault protection differently than standard circuit breakers:
- GFCI White Pigtail Wire: Connect the coiled white pigtail wire permanently attached to the GFCI breaker directly to the subpanel’s neutral busbar.
- Hot Tub Load Neutral (White, #6 AWG): Connect the white neutral wire coming from the hot tub control pack directly to the terminal labeled LOAD NEUTRAL (or ‘N’) on the body of the GFCI breaker itself. Do not connect this wire to the neutral busbar!
- Hot Tub Load Hots (Black & Red, #6 AWG): Connect the black and red hot wires running to the hot tub directly to the two load terminal screws on the GFCI breaker.
- Hot Tub Load Ground (Green, #10 AWG): Connect the green ground wire coming from the spa cabinet directly to the subpanel grounding bar.
For a helpful visual walkthrough of this wiring process, you can watch this video on Hot Tub 220V 50 AMP GFCI Breaker Installation – ALL WIRING!.
Step 4: Wire the Hot Tub Control Box
Inside the hot tub equipment compartment, land the Black (L1) and Red (L2) conductors onto the main terminal block of the Balboa or Gecko control system. Connect the white neutral to the neutral lug, and ground to the bonded grounding lug. Always check the wiring diagram printed inside your spa unit’s access door before powering up.
Testing and Troubleshooting Common Wiring Errors
Before placing the cover back on and jumping into warm water, you must test the voltage levels and verify that ground fault protection operates properly.
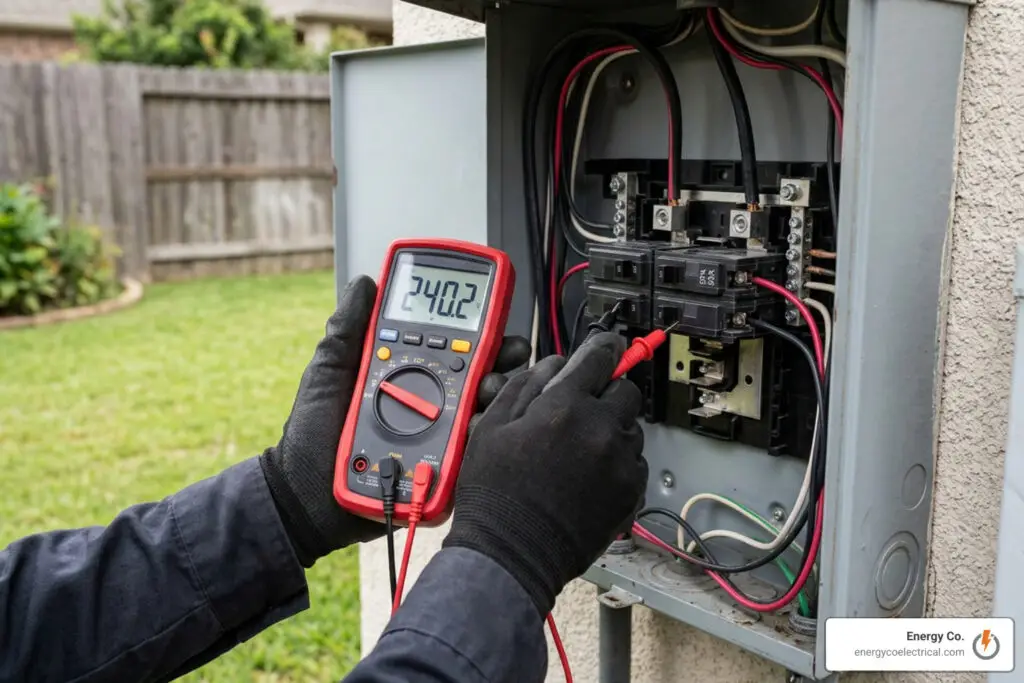
Voltage Verification Steps
With the spa pack main disconnect open or tub heater disconnected, energize the circuit at the main house panel. Using a digital multimeter set to AC volts:
- Test between Line 1 (Black) and Line 2 (Red) on the incoming lugs: Should read 240 Volts (nominal 220V–240V).
- Test between Line 1 (Black) and Neutral (White): Should read 120 Volts.
- Test between Line 2 (Red) and Neutral (White): Should read 120 Volts.
- Test between Neutral (White) and Ground (Green): Should read 0 Volts.
If your readings match these figures, push the TEST button on the GFCI breaker. The breaker switch should instantly snap to the OFF or TRIPPED center position. Reset it manually to confirm mechanical operation.
Diagnosing Immediate Breaker Tripping
If your newly wired GFCI breaker trips the instant you turn power on, do not panic. The issue is almost always caused by one of three installation mistakes:
In standard forum diagnostic cases, landing the white load neutral wire on the subpanel neutral busbar rather than the GFCI breaker load terminal causes an instant ground fault trip when current flows through 120V spa accessories (such as ozonators or control boards). Miswiring can also blow small 3/10 amp low-voltage glass fuses on internal spa control boards.
For further advice on electrical testing techniques, refer to our article on the easiest way to troubleshoot electrical problems.
Frequently Asked Questions About Hot Tub Wiring
Why does the 50 amp GFCI breaker trip immediately when energized?
The most frequent cause of an immediate GFCI trip on a brand-new 4-wire 240V installation is attaching the spa’s white load neutral wire to the subpanel neutral busbar instead of directly to the LOAD NEUTRAL terminal on the GFCI breaker itself.
A GFCI breaker continuously measures the balance of electric current passing through the hot legs and the return neutral line. When current returns through a neutral wire attached to the panel bar rather than passing back through the GFCI’s internal current sensor, the breaker detects a current imbalance and trips instantly to protect against electrocution.
What wire gauge and conduit size are required for a 50 amp spa panel?
Under NEC Table 310.16 and standard continuous load rules for 50-amp circuits:
- Wire Gauge: Use #6 AWG THHN/THWN copper conductors for the two hot lines and the neutral line. For the equipment ground, an insulated #10 AWG copper wire is required.
- Conduit Size: A 1-inch rigid PVC conduit (Schedule 40 or 80) is strongly recommended. While code technically permits four conductors inside 3/4-inch conduit, pulling four stiff #6 THHN wires through 3/4-inch sweep bends is extremely difficult and can strip wire insulation.
How far away must the spa panel disconnect be located from the hot tub?
Per NEC Article 680.13, the outdoor spa disconnect box or panel must be installed:
- At least 5 feet away from the inside wall of the spa (measured horizontally) so bathers cannot touch electrical equipment while in the water.
- No more than 50 feet away from the spa cabinet.
- In direct, unobstructed line of sight from the hot tub so anyone can quickly shut off power during an emergency.
Conclusion
Wiring a 50 amp outdoor spa panel involves precise execution of ground-fault protection, underground conduit depth rules, and strict subpanel neutral isolation. While knowledgeable homeowners can prepare trenches and mount enclosure boxes, handling high-voltage 240V connections carries significant safety and equipment risks. A single miswired terminal can ruin expensive spa circuit boards or create hidden electrical hazards.
At Energy Co., our team of licensed, background-checked electricians brings local expertise to every project across Chicago and the surrounding suburbs—including Schaumburg, Hoffman Estates, Elk Grove Village, Palatine, and Mount Prospect. We take care of municipal permits, load calculations, panel connections, and final safety inspections so you can enjoy your hot tub with total peace of mind.
Need help wiring your new hot tub or upgrading your home’s electrical service panel? Explore our complete range of residential electrical services or contact Energy Co. today to schedule an expert installation!