Plan a Garage Electric Panel That Is Safe and Ready to Grow
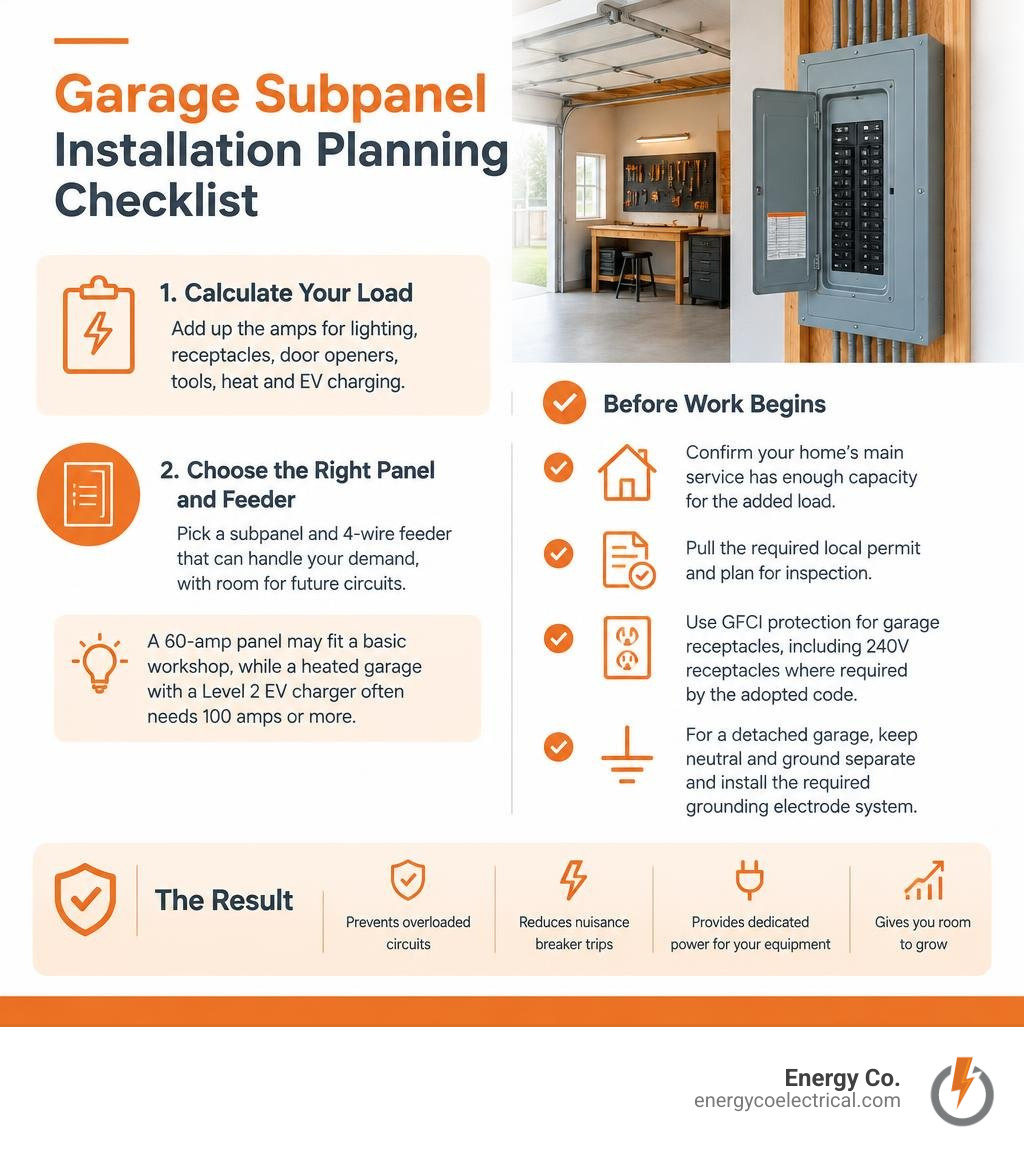
To install a garage electric panel, start with a load calculation. Add the amps for planned lighting, receptacles, door openers, tools, heat, and EV charging. Then choose a subpanel and 4-wire feeder that can handle that demand, with room for future circuits. A 60-amp panel may fit a basic workshop, while a heated garage with a Level 2 EV charger often needs 100 amps or more.
Before work begins:
- Confirm your home’s main service has enough capacity for the added load.
- Pull the required local permit and plan for inspection.
- Use GFCI protection for garage receptacles, including 240V receptacles where required by the adopted code.
- For a detached garage, keep neutral and ground separate and install the required grounding electrode system.
A correctly sized subpanel prevents overloaded circuits and nuisance breaker trips. It also gives you dedicated power for equipment such as an air compressor, welder, heater, or EV charger without treating your garage like an afterthought.
I am Michał Napieralski of Energy Co., a licensed electrical professional serving Schaumburg and the Chicago suburbs with panel installations, upgrades, wiring repairs, and inspections. My work with garage electric panel projects focuses on safe capacity, clean installations, and code-compliant power for modern garages.
Related content about garage electric panel:
Sizing and Planning Your Garage Electric Panel Installation
When transforming your garage into a high-functioning workshop or a dedicated EV charging bay, planning your power delivery is step one. Running your entire workspace off a single 15-amp branch circuit shared with the outdoor patio lighting just leads to tripped breakers and dimming lights.
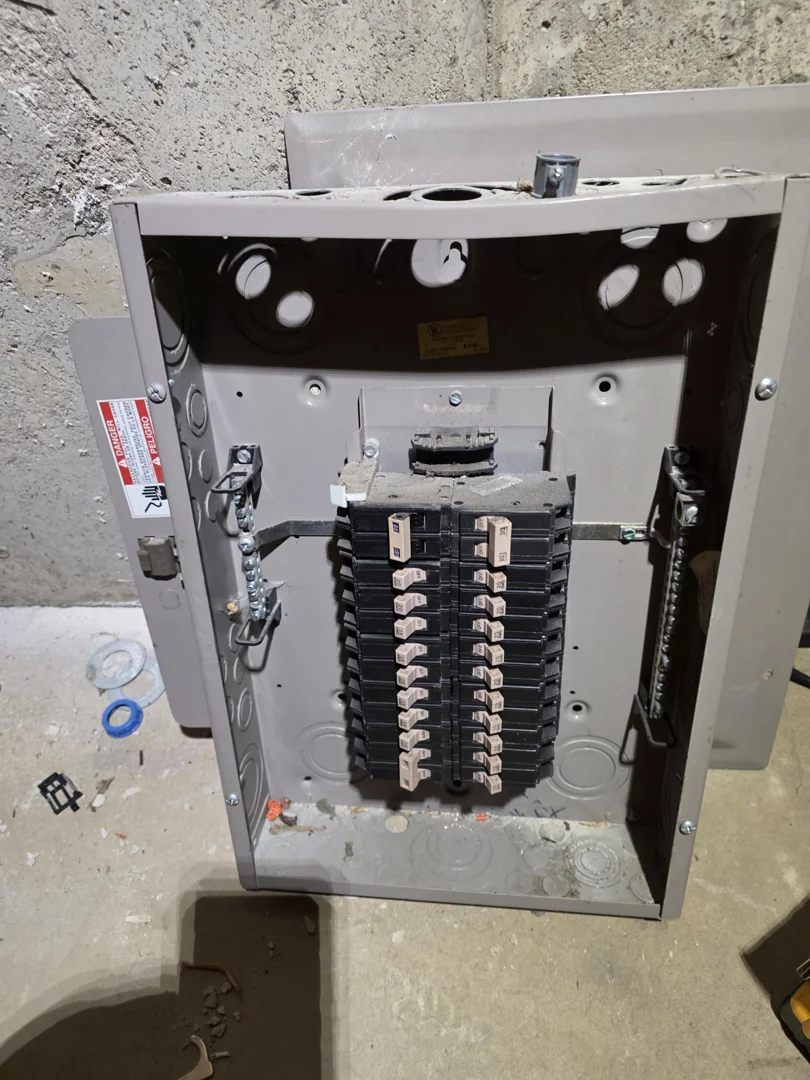
A subpanel functions as a branch distribution center connected directly to your main home panel. It allows you to run multiple heavy-duty 120V and 240V circuits locally without having to fish dozens of individual lines all the way back across the house.
Sizing Your Garage Electric Panel for EV Chargers and Heavy Tools
Calculating your demand load correctly keeps you from outgrowing the panel within months of installation. Continuous loads (appliances operating continuously for 3 hours or more) must be calculated at 125% of their rated amperage under National Electrical Code (NEC) guidelines.
For instance, a standard 7,500W electric garage unit heater draws approximately 31.25 amps at 240V. Sizing for the continuous load requires:
$$31.25text{ A} times 1.25 = 39.06text{ A}$$
This requires a dedicated 40-amp circuit. Pair that with a Level 2 electric vehicle charging station drawing 32 to 48 continuous amps (requiring a 40A to 60A breaker), and your workshop has drawn over 80 amps before you even fire up an air compressor or dust collector.
| Panel Amperage | Ideal Applications | Typical Connected Equipment |
|---|---|---|
| 60-Amp | Basic storage & light DIY | Standard lighting, door opener, 1–2 dedicated 20A tool circuits |
| 100-Amp | Heavy workshop or EV charging | 240V air compressor, table saw, Level 2 EV charger, basic lighting |
| 150-Amp | Heated multi-bay shop + dual EV | 7,500W unit heater, 48A EVSE, MIG welder, dust collector, tool banks |
If your primary home distribution center is crowded, consider buying an upgraded 200-amp electrical panel to ensure your main utility entrance can safely backfeed your new garage subpanel.
Wire Sizing, Distance, and Voltage Drop
Choosing the right feeder wire depends on panel capacity, conductor material (copper vs. aluminum), and physical run length.
- 60-Amp Subpanel: 6 AWG copper conductors or 4 AWG aluminum conductors on a 60A double-pole breaker.
- 100-Amp Subpanel: 3 AWG copper conductors or 1 AWG aluminum THHN/THWN-2 conductors on a 100A double-pole breaker.
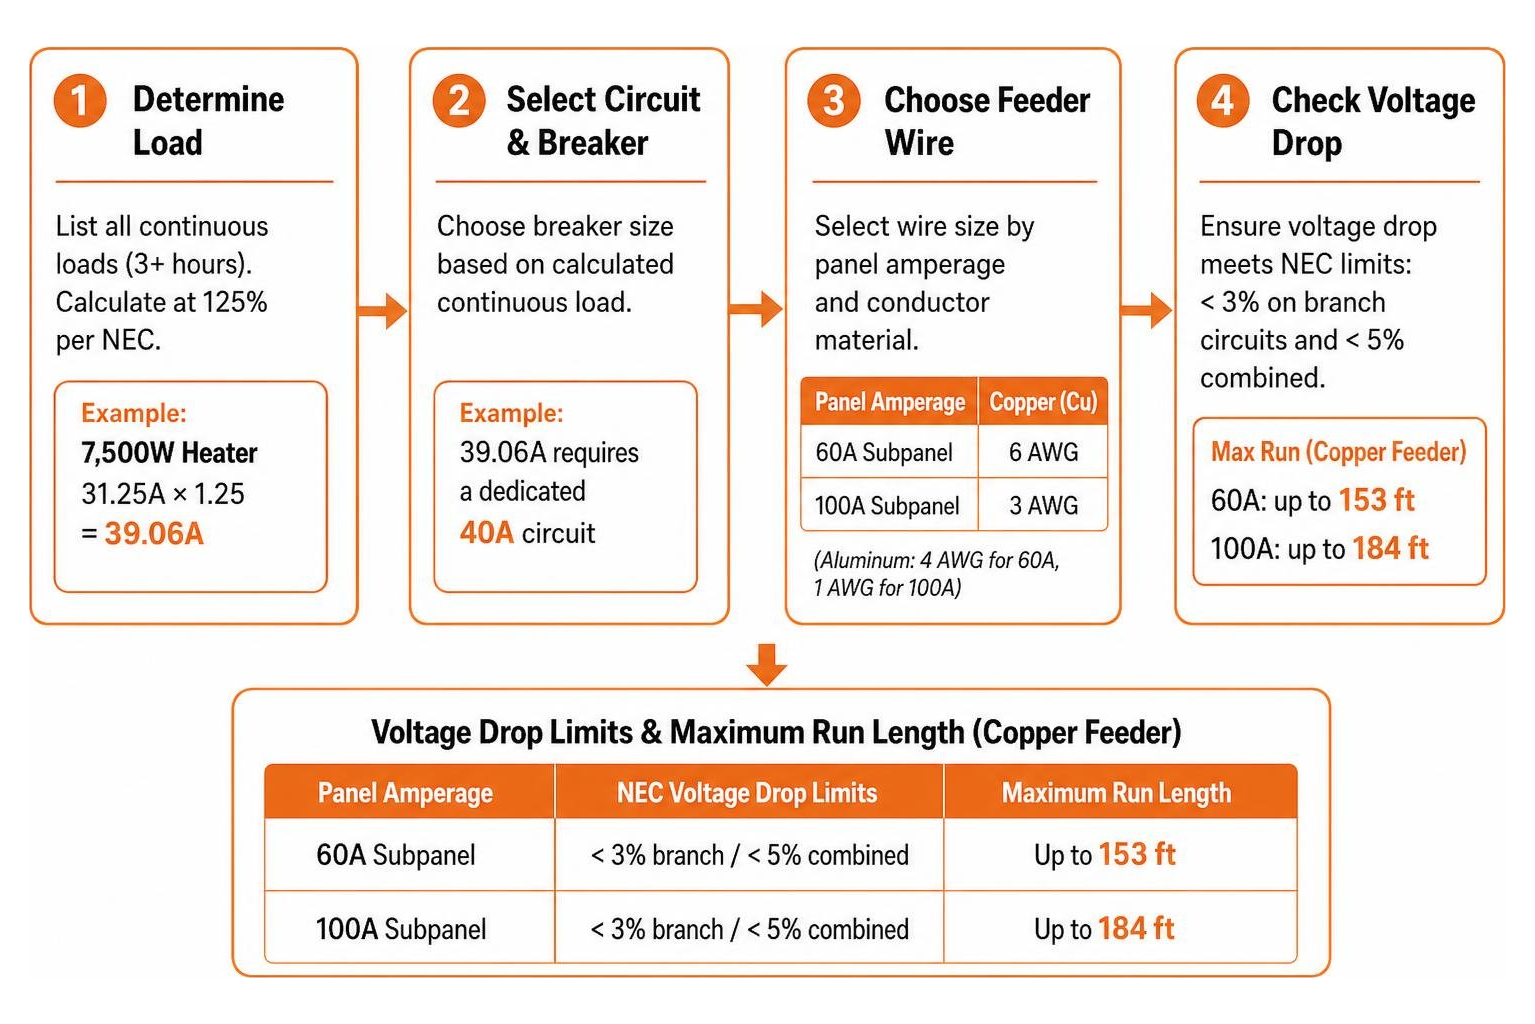
Voltage drop reduces tool performance and causes motor heating. The NEC recommends keeping voltage drop under 3% on branch circuits and 5% across combined feeder and branch circuits:
- For a 60A copper feeder, you can safely run up to 153 feet before needing to upsize wire gauge due to voltage drop.
- For a 100A copper feeder, the threshold is 184 feet.
If your detached garage sits at the end of a long driveway in communities like Palatine or Mount Prospect, calculate the precise distance with a measuring wheel, add 10 feet for terminations, and upsize the conductor gauge by one step if you exceed 100–120 feet. For a complete understanding of how power flows through your home, check our guide on residential electrical wiring from panel to receptacle.
Critical Code Differences: Attached vs. Detached Garages
Wiring an attached garage is straightforward because the structure shares continuous framing with the main home. Detached garages operate under different structural and electrical mandates.
Feeder Conduit and Trenching Options
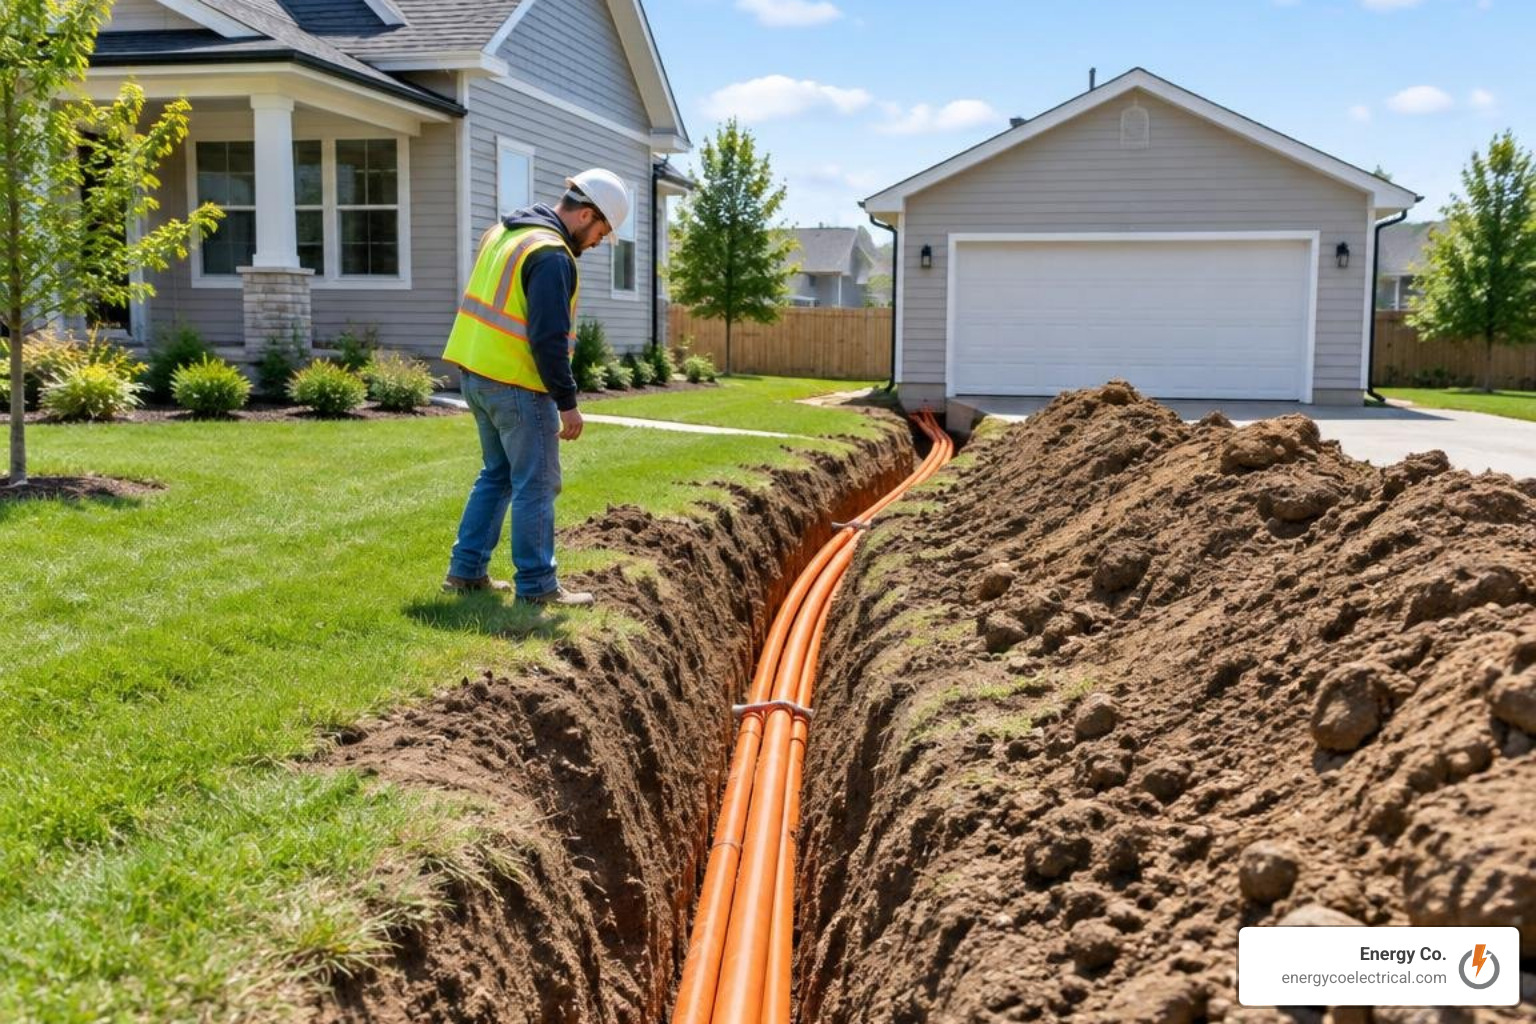
When running power outside to a detached garage, you have two primary options: underground conduit or overhead lines.
- Underground Conduit (Recommended): Provides maximum physical protection and clean property aesthetics.
- Schedule 40 PVC: Standard for buried trench runs at a minimum burial depth of 18 inches.
- Schedule 80 PVC: Required for all above-ground conduit sections exposed to physical damage (such as where the pipe rises along the exterior wall).
- Direct-Burial UF Cable: Requires a minimum burial depth of 24 inches, but offers zero pathway for pulling future replacement wires.
- Overhead Mast Feed: Quicker to set up, but exposed to falling tree limbs, heavy Chicago snow, and high winds. Overhead lines require minimum clearances of 10 feet above walking paths and 12 to 18 feet above residential driveways.
Local municipalities enforce strict requirements for accessory building electrical runs. Homeowners should consult the Village of Schaumburg garage electrical guidelines or their local building department before trenching across property lines.
Grounding, Bonding, and Disconnect Rules
The biggest code violation on subpanels happens during grounding and bonding:
- NEC 250.32 Ground Rod Mandate: A detached structure served by a feeder must have its own grounding electrode system. This requires installing two 8-foot ground rods, spaced at least 6 feet apart, driven flush with or below the grade.
- Separated Neutral and Ground: In the subpanel, the neutral bus bar must float (isolated from the metal chassis). The green bonding screw or strap must be removed. The equipment grounding bar is screwed directly into the metal panel chassis.
- Main Disconnect Rule: If a detached garage subpanel houses more than six branch circuit breakers, it must have a single main disconnect switch or main circuit breaker to cut all power instantly in an emergency.
How to Wire and Protect Your Garage Circuits
Installing a subpanel demands methodical safety protocols, correct torque, and complete circuit protection.
Step-by-Step Garage Electric Panel Wiring and Safety Steps
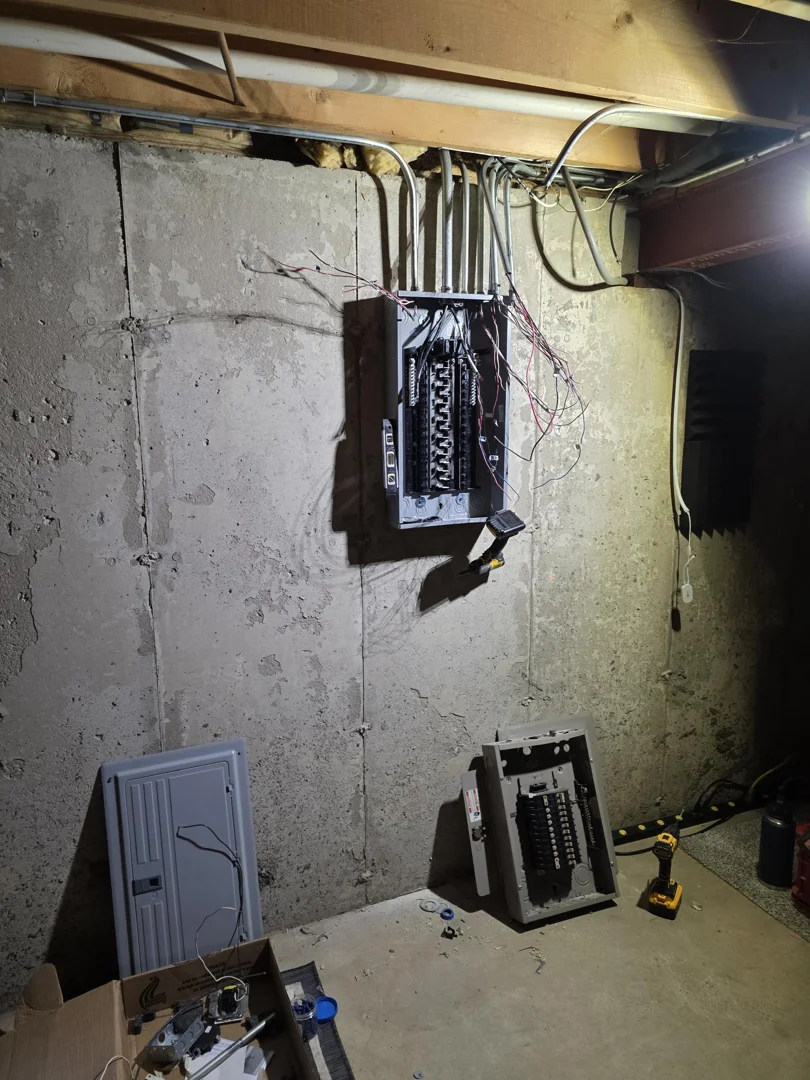
- Mount the Enclosure: Fasten the subpanel plumb to interior wall studs with structural screws. Ensure the center of the main disconnect grip is no higher than 6 feet, 7 inches above the finished floor.
- Pull the 4-Wire Feeder: Run two hot lines (black and red), one neutral line (white), and one ground line (bare or green) through the conduit into the panel cabinet using appropriate sweep elbows.
- Make Subpanel Terminations:
- Connect the two hots to the main lugs or main breaker terminals.
- Connect the isolated white neutral wire to the insulated neutral bar.
- Connect the green or bare grounding conductor (and the bare copper lead from the exterior ground rods) to the equipment grounding bus.
- Apply Anti-Oxidant Paste: When working with aluminum conductors, apply an approved anti-oxidant compound (such as Noalox) to stripped wire ends to prevent oxidation and loose terminations.
- Torque Connections: Use an electrician’s torque screwdriver or wrench to torque all terminal lugs to the manufacturer’s specified inch-pounds listed on the panel door label.
- Tie In at the Main Panel: De-energize the main house panel, install the double-pole supply breaker, secure the feeder wires, and label the breaker clearly. Review our complete guide to residential wiring types to ensure your branch cabling matches every outlet application.
Mandatory GFCI and 240V Outlet Requirements
Garages are classified as damp, potentially wet environments where bare concrete floors present elevated shock risks.
- 240V GFCI Requirements: Under NEC 210.8(A)(2), GFCI protection is required for all garage receptacles rated 125V through 250V. This means your 240V EV charger outlets (NEMA 14-50), 240V table saw outlets, and welder connections must be protected by 2-pole GFCI circuit breakers.
- AFCI Protection: Many local building jurisdictions require Arc-Fault Circuit Interrupter (AFCI) protection on 120V branch circuits serving garage outlets and lighting.
- Tamper-Resistant & Weather-Resistant: All 15A and 20A receptacles installed outdoors or in damp garage areas must feature weather-resistant (WR) and tamper-resistant (TR) internal shutters.
Costs, Permits, and Avoiding Common Installation Mistakes
Budgeting for a subpanel project depends on whether you have an attached garage or need trenching across a yard to a detached building.
Estimating Total Subpanel Installation Costs
For homeowners across Arlington Heights, Rolling Meadows, and Hoffman Estates, a complete garage subpanel installation typically ranges between $1,500 and $4,500.
- Attached Garage Installation: $1,200 – $2,200 (shorter conduit runs, no trenching required).
- Detached Garage Installation: $2,500 – $4,500 (includes mechanical trenching, heavy conduit, dual ground rods, and weatherheads).
- Materials Only: $400 – $1,100 (panel box, main feeder wire, PVC conduit, breakers, grounding rods).
- Permits & Inspections: $75 – $250 depending on municipal fee schedules.
For regional building regulations, see the Village of Roselle detached garage building standards. You can also view our step-by-step guide to electrical panel upgrade costs for broader budget planning.
Common DIY Pitfalls and When to Hire a Licensed Electrician
While single-family homeowners can legally pull permits for their own homesteads in many local municipalities, electrical errors can create severe fire and shock hazards. Common mistakes that cause failed inspections include:
- Installing the Green Bonding Screw: Bonding the neutral to ground inside a subpanel energizes the metal panel casing whenever an appliance draws power.
- Exceeding Box Fill: Cramming too many conductors into small junction boxes causes internal heat buildup.
- Using Interior NM-B Romex Outdoors: Standard Romex cable cannot be pulled through underground conduit because underground conduit is defined by code as a wet location.
- Incorrect Wire Gauging: Putting 14 AWG wire on 20-amp circuits or failing to apply the 125% continuous load factor for heaters and EV chargers.
Hiring a licensed, insured contractor guarantees that utility load calculations, trenching depths, and panel terminations will pass city inspections on the first visit.
Frequently Asked Questions About Garage Electrical Subpanels
Can I install a 100-amp subpanel if my home only has a 100-amp main service?
You can physically install a subpanel rated for 100 amps, but you cannot draw 100 amps of new power without overloading your home. The subpanel rating represents its maximum capacity, but your home’s total electrical service determines what you can safely draw.
If your home has an older 100-amp main panel, adding heavy continuous loads like a 40A EV charger and a 30A heater will require an upgrade to a 200-amp main service panel. Practicing routine maintenance to prevent panel overloads keeps both panels functioning safely.
Why must the neutral and ground wires be separated in a garage subpanel?
In a main electrical panel, the neutral and ground are bonded together to establish a zero-voltage reference connected to earth. In a subpanel, keeping them separate ensures that normal return current flows exclusively through the insulated white neutral wire.
If you bond them together in a subpanel, neutral current splits and travels along the ground wire and metal conduit, energizing tool chassis and metal panel boxes, which creates an electrocution hazard.
Is an overhead electrical line cheaper than underground conduit for a detached garage?
An overhead line has lower upfront material and labor costs because it eliminates trenching. However, underground conduit is the better long-term investment. Underground lines are protected from high winds, falling ice, tree branches, and UV degradation, and they maintain the visual curb appeal of your property.
Conclusion
Installing a dedicated subpanel gives your garage the electrical capacity needed for high-demand tools, reliable climate control, and Level 2 EV charging. Sizing your feeder correctly, isolating neutral and ground buses, driving dedicated ground rods, and installing code-compliant GFCI protection ensures decades of safe, reliable power.
Energy Co. provides expert subpanel installations, heavy-up panel replacements, and residential rewiring throughout Cicero, Elk Grove Village, Streamwood, Hanover Park, and the surrounding Chicagoland area. If you are ready to expand your garage workshop safely, schedule a professional electrical panel upgrade with our team of licensed electricians today.