Last updated:
Why Parking Lot Lighting Installation Matters for Your Business
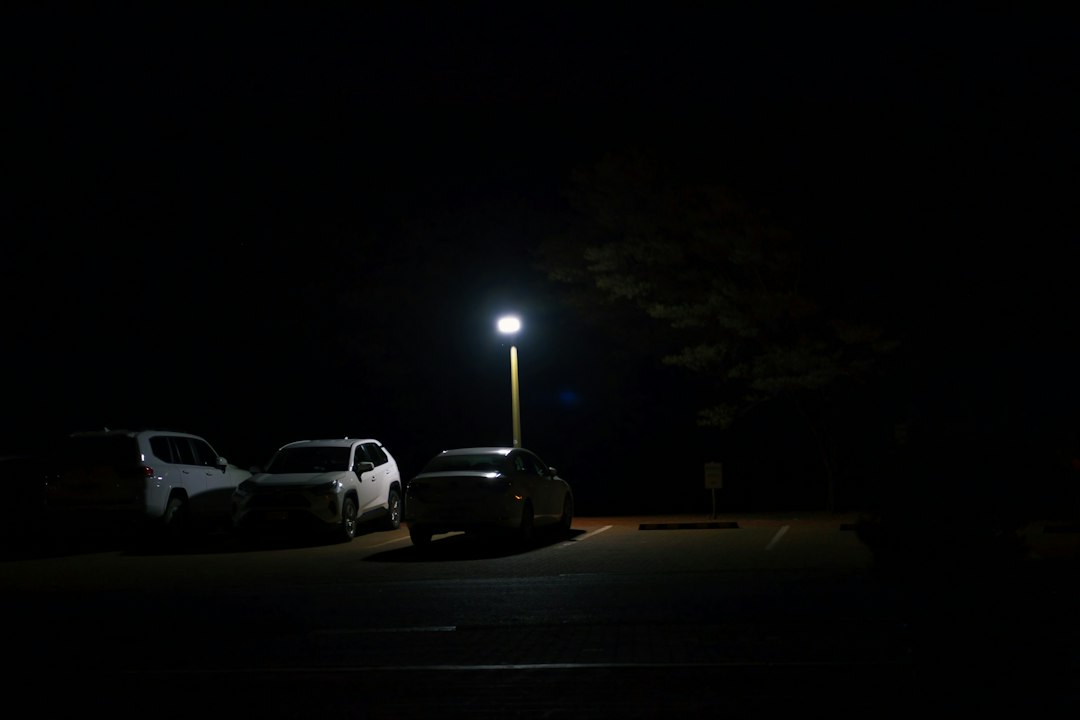
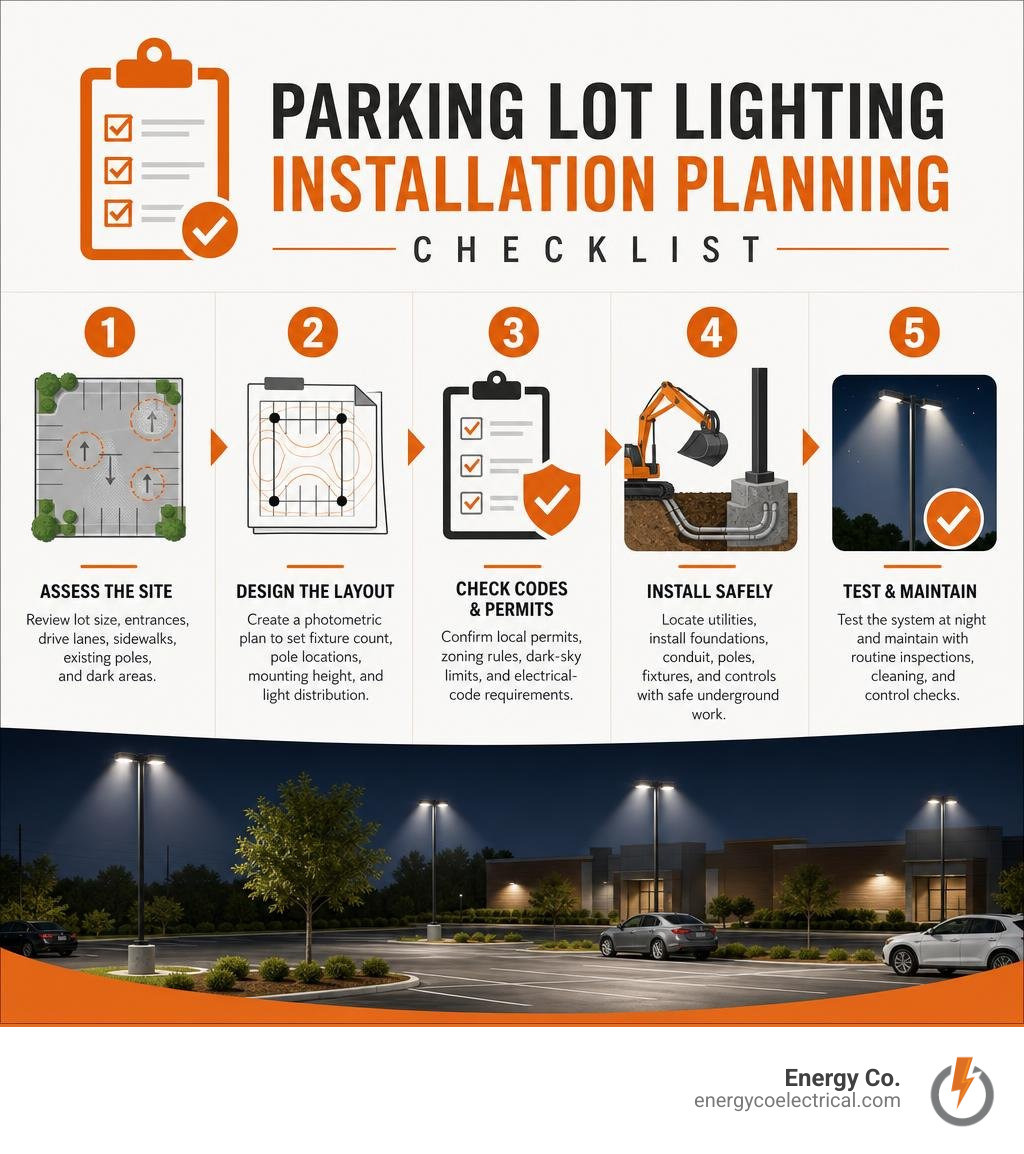
Parking lot lighting installation starts with a site review, a lighting layout, code checks, safe underground work, and professional mounting and wiring. The goal is simple: provide even, reliable light that helps people see where they are walking and driving without wasting power, creating glare, or spilling light onto neighboring properties.
For a quick project overview, plan to:
- Assess the lot size, entrances, drive lanes, sidewalks, existing poles, and dark areas.
- Create a photometric plan to set fixture count, pole locations, mounting height, and light distribution.
- Confirm local permits, zoning rules, dark-sky limits, and electrical-code requirements.
- Locate utilities before digging, then install foundations, conduit, poles, fixtures, and controls safely.
- Test the system at night and maintain it with routine inspections, cleaning, and control checks.
Modern LED area lights are usually the strongest choice for commercial lots. They can use up to 75% less energy than older lighting technologies and may operate for 50,000 to 100,000+ hours when properly installed. Smart controls, such as photocells and motion sensors, can reduce unnecessary after-hours energy use even further.
I am Michał Napieralski of Energy Co., a licensed electrical professional serving Schaumburg and the Chicago suburbs with commercial wiring, lighting installation, inspections, and panel work. My experience with parking lot lighting installation helps business owners plan safer, code-compliant projects that limit downtime and support long-term reliability.
Key Steps in Planning a Parking Lot Lighting Installation
A successful commercial outdoor lighting project does not begin with an excavator or a bucket truck; it begins on paper. Skipping proper pre-construction planning often leads to dark patches, excessive glare, or costly code violations that force expensive rework. When we manage a project, we take a systematic approach to balance visibility, safety, and operational budget.
Proper planning ensures your investment delivers optimal light distribution without over-lighting or wasting electricity. Learn more about our comprehensive solutions for Commercial Parking Lot Lighting.
Assessing Site Layout and Foot-Candle Requirements
Every parking lot has unique geometric footprints, traffic patterns, and potential hazards. During our initial site assessment, we evaluate physical dimensions, existing electrical infrastructure, drive lanes, pedestrian crosswalks, building perimeters, and surrounding landscape features. Trees and structural additions can significantly cast shadows if not factored into pole placement.
To eliminate guesswork, professional installers use advanced computer software like AGi32 or DIALux to generate precise photometric layouts. A photometric plan models light intensity across your property, measured in foot-candles (a unit equal to one lumen per square foot).
Standard commercial guidelines generally recommend:
- Main Parking Areas: 1 to 2 foot-candles average maintained light.
- High-Traffic Drive Lanes & Entrances: 2 to 4 foot-candles for rapid visual orientation.
- Pedestrian Walkways & Loading Zones: 3 to 5 foot-candles for heightened safety and visual acuity.
Achieving proper light levels isn’t just about throwing raw lumens at the asphalt; it is about uniformity ratios. A uniformity ratio compares the maximum light level to the minimum light level across the lot (or the average to minimum). A ratio of 3:1 or 4:1 ensures smooth transitions without stark, blinding bright spots or dangerous pitch-black pockets where security risks thrive.
General rules of thumb dictate spacing light poles at a ratio of 3 to 4 times the mounting height. For example, 20-foot light poles are usually spaced 60 to 80 feet apart, maintaining roughly one pole per 10 to 12 parking spaces.
Navigating Local Permits, Zoning, and Dark-Sky Rules
Installing or upgrading commercial outdoor lighting requires navigate municipal zoning ordinances and securing proper building permits. Municipalities across Cook County and the surrounding suburbs maintain strict requirements regarding light trespass—the spilling of unwanted light onto neighboring residential properties or public roadways.
To control light spill and glare, local codes frequently require full-cutoff fixtures or those certified under the BUG rating system. BUG stands for:
- B (Backlight): Light directed behind the fixture toward property lines.
- U (Uplight): Light directed skyward, contributing to artificial light pollution and skyglow.
- G (Glare): High-angle light causing visual discomfort or blinding drivers.
Many commercial zones mandate compliance with International Dark-Sky Association standards. This often means using fully shielded fixtures tilted no higher than 0° to 15° down-tilt and limiting color temperature (CCT) to 3000K or 4000K to minimize harsh blue-wavelength light pollution.
Working alongside a local team like Energy Co. guarantees that your permit applications, engineering schematics, and fixture choices adhere strictly to local ordinances before any equipment touches your lot.
Underground Preparation: Utility Locating, Trenching, and Foundations
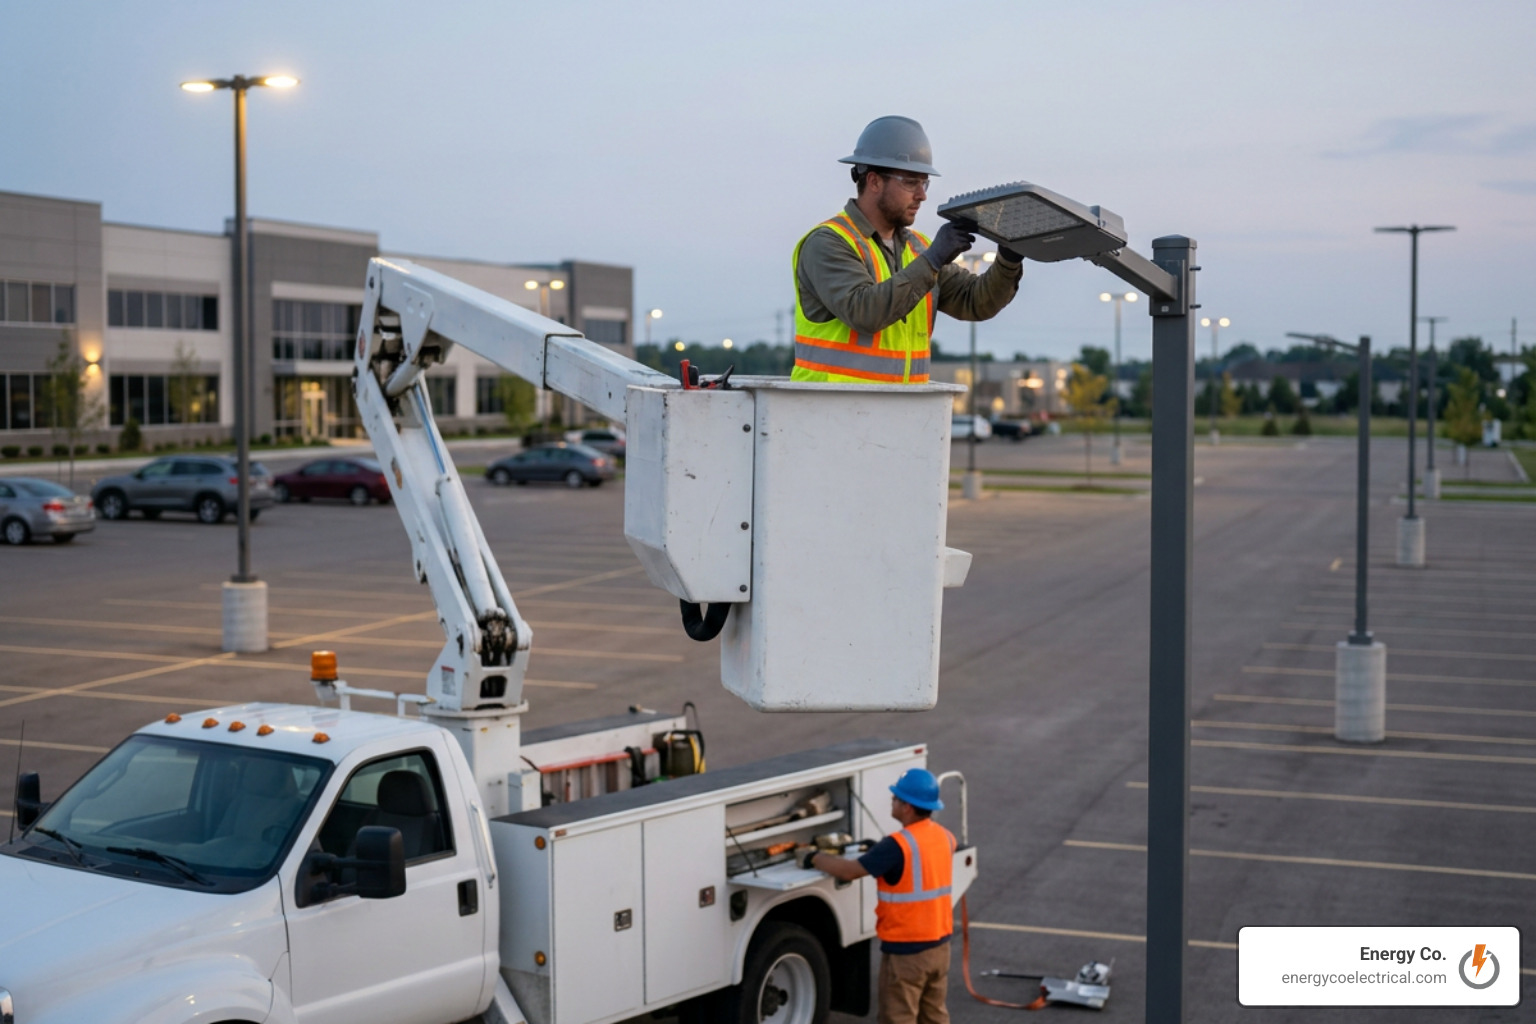
Before installing a single light pole, significant civil and heavy electrical work must occur beneath the ground. Underground infrastructure supports the structural stability of heavy steel poles against severe wind loads and shields high-voltage electrical lines from physical damage and moisture.
For a deeper dive into high-capacity commercial electrical work, check out The Complete Guide to Commercial Wiring.
Excavation Ratios and Pole Foundation Pouring
A parking lot light pole acts as a massive lever when subjected to high winds. The foundation must anchor the entire structure securely into solid earth. According to the Common Ground Alliance, an underground utility line is damaged every six minutes across the United States due to improper digging. Therefore, calling 811 to locate gas, water, telecom, and existing electrical lines at least 48 to 72 hours prior to excavation is legally required and essential for safety.
Once utilities are marked, concrete foundation holes are excavated based on regional wind loads, soil density, frost line depth, and pole height.
A reliable rule of thumb for calculating light pole foundation depth is to take one-sixth of the pole height and add 2 feet. For example, a standard 20-foot light pole requires a concrete foundation hole that is roughly 5.33 feet deep. In northern climates prone to heavy ground freezing, foundations must always extend safely below the local frost line (typically 42 to 48 inches) to prevent winter frost heaves from tilting the pole.
Concrete used for light pole bases should have a minimum compressive strength of 3,000 PSI. Steel rebar cages are centered inside standard round sonotubes, and structural anchor bolts are embedded into the wet concrete using template plates provided by the manufacturer.
Anchor bolts must leave approximately 3 inches of threaded rod exposed above the finished concrete level. Concrete bases must cure for a minimum of 72 hours before attempting to lift, bolt down, or strain the structure with light poles and heavy fixtures.
Installing Underground Conduit and Commercial Wiring
Underground wiring demands severe weather protection and strict structural compliance. The National Electrical Code (NEC) mandates that direct-buried conduit carrying commercial branch circuits must be placed at least 18 inches below finished grade.
Key trenching and wiring guidelines include:
- Conduit Material: Heavy-duty Rigid Nonmetallic Conduit (Schedule 40 or Schedule 80 PVC) or Rigid Metal Conduit (RMC).
- Conduit Sizing: Typically 1.5-inch to 2-inch diameter to accommodate long wire pulls and prevent internal friction heat.
- Conductor Specification: Stranded copper THHN/THWN-2 conductors rated for wet locations and high temperature shifts.
- Expansion Joints: Installing expansion fittings near foundation entry points to handle ground settlement and thermal expansion.
When pulling wire through extended underground conduit runs, always leave at least 3 feet of wire slack inside the handhole at the base of each pole. This extra length simplifies terminal block splicing and future repairs without stressing the copper conductors.
Always consult manufacturer technical documentation, such as this official User Manual, for proper terminal connection procedures. To learn more about underground service feeders, review our dedicated guide to Commercial Wiring.
How to Mount, Wire, and Aim LED Light Fixtures
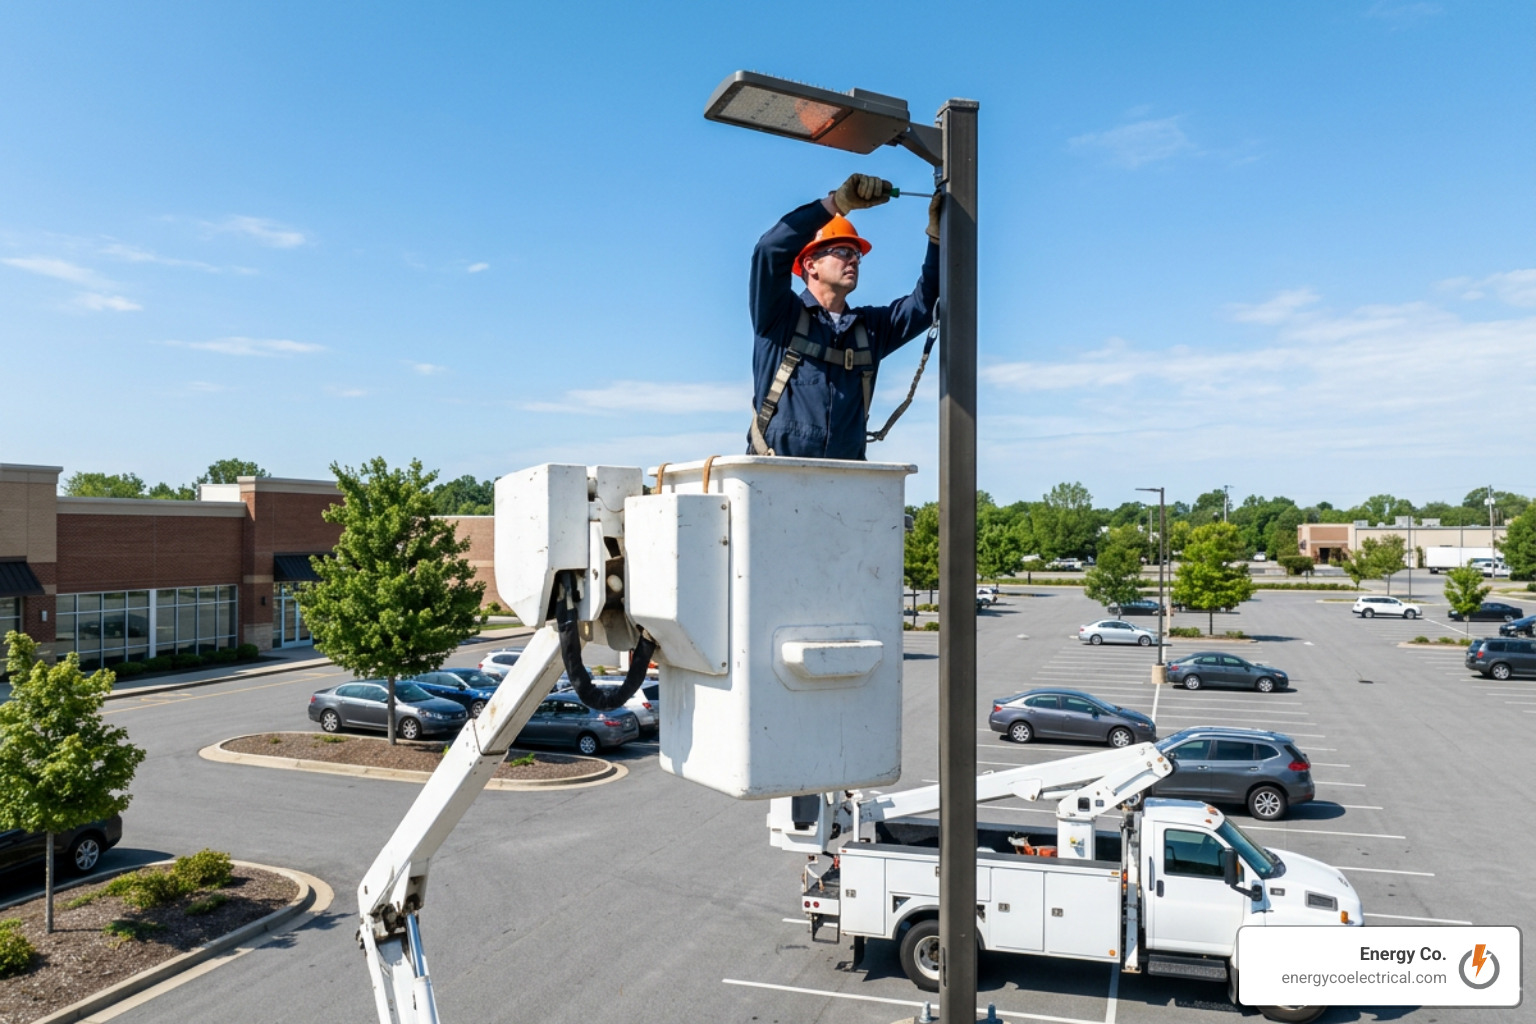
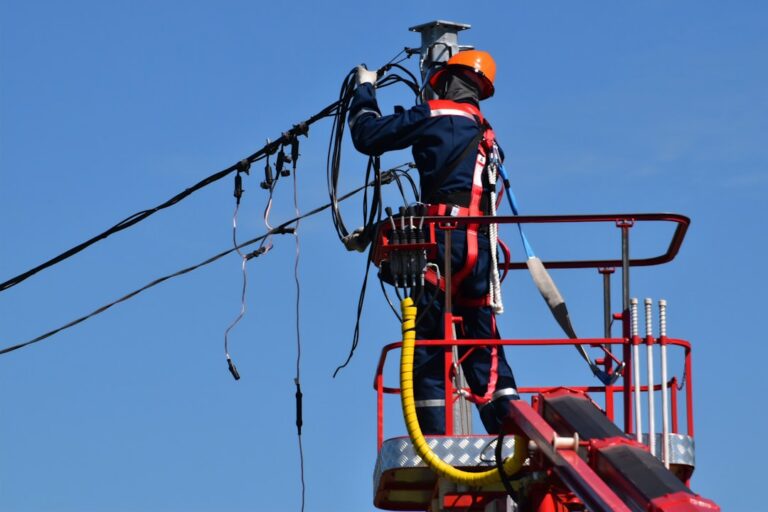
With concrete foundations fully cured and underground conduits pulled, the physical mounting of light poles and luminaires can proceed. Working elevated off the ground requires precision, specialized bucket trucks, and strict adherence to trade safety guidelines.
For further reading on elevated installations, review the LED Area Lights Installation Guide for Parking Lots.
Safety Protocols During Parking Lot Lighting Installation
Working around live elevated high-voltage lines presents significant safety risks. Contractors must uphold full compliance with OSHA standards throughout every installation phase:
- Fall Protection: Electricians operating bucket lifts or aerial platforms at heights of 6 feet or more must wear personal fall arrest systems (PFAS), including full-body harnesses and shock-absorbing lanyards anchored to certified lift points.
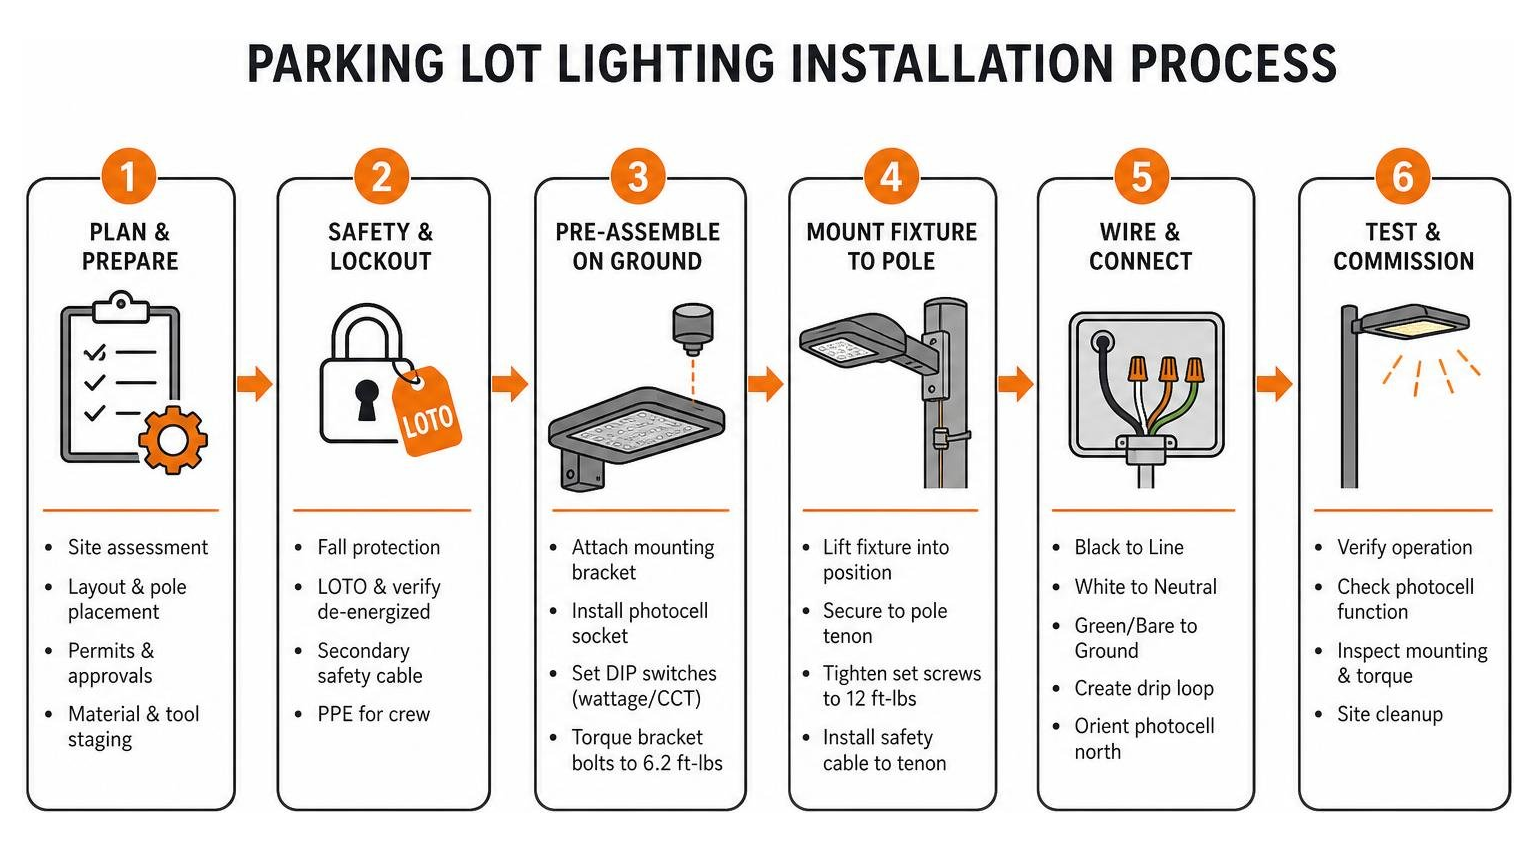
- Secondary Safety Cables: OSHA guidelines and safety rules mandate installing an independent aircraft-grade stainless steel safety cable connecting the luminaire housing directly to the structural pole tenon. This secondary support prevents high-overhead fixtures from falling to the ground in the event of severe mounting bracket failure or high-wind shearing.
- De-energization & Lockout/Tagout (LOTO): Circuits must be locked out, tagged, and verified with calibrated multi-meters prior to making any electrical connections inside junction boxes or pole handholes.
- Personal Protective Equipment (PPE): Crew members on the ground and elevated in lifts must wear hard hats, ANSI-approved safety glasses, non-conductive electrical hazard (EH) boots, and insulated gloves.
Mounting Brackets, Photocell Integration, and Wiring
Pre-assembling components on the ground saves considerable time and improves field safety compared to balancing hardware while elevated in a lift bucket. Installers should attach mounting arms, insert photocell sockets, and configure internal DIP switches for wattage or color temperature (CCT) selection while the fixture is on the ground.
Commercial LED area lights (often called shoebox lights) utilize four major mounting configurations:
- Slip-Fitter Mounts: Ideal for standard 2.375-inch (2 3/8″) outer diameter pole tenons. They slide over the tenon and allow tilt adjustment from 0° to 90°.
- Direct/Extruded Square Brackets: Bolt directly into square steel or aluminum poles for a sleek, permanent appearance.
- Trunnion / Yoke Brackets: Heavy-duty U-brackets suited for mounting onto flat walls or wide timber columns.
- Round Pole Mounts: Curved adapters designed to fit 3-inch, 4-inch, or 5-inch cylindrical poles.
Proper torque application is critical to stop wind vibrations from loosening light fixtures over time. Mounting bracket bolts securing arms to the fixture housing should be torqued precisely to 6.2 ft-lbs (8.3 Nm), while slip-fitter set screws securing the bracket to the pole tenon must be tightened to 12 ft-lbs.
During electrical splicing inside the upper fixture compartment or base handhole:
- Connect line voltage (Black to Line, White to Neutral, Green/Bare to Earth Ground).
- If installing a twist-lock photocell, align the north-facing indicator mark on the photocell socket toward true geographic north. Orienting photocells north prevents ambient headlight glare from traffic triggering false shut-off cycles at night.
- Form service drip loops on wiring beneath junction box entries to prevent condensed atmospheric water from wicking directly into the sealed electronics.
For detailed wiring schematics and step-by-step physical bracket instructions, refer to this complete LED PARKING LOT LIGHT Installation Instruction resource.
Maximizing Energy Efficiency and Utility Rebates
Upgrading outdated metal halide or high-pressure sodium fixtures to modern LED technology offers impressive energy savings. LED area lights deliver equivalent or superior light output while consuming up to 75% less electricity.
| Lighting Technology | Equivalent System Wattage | Delivered Lumens | Average Lifespan | Energy Savings vs. Legacy |
|---|---|---|---|---|
| Metal Halide (HID) | 1,000 Watts | ~35,000 Lumens | 12,000 Hours | Baseline (0%) |
| High-Pressure Sodium (HPS) | 1,000 Watts | ~40,000 Lumens | 24,000 Hours | ~15% Savings |
| Commercial LED Area Light | 240 to 300 Watts | ~36,000 – 45,000 Lumens | 50,000 to 100,000+ Hours | Up to 75% Savings |
By lowering wattage and optimizing control schedules, commercial property owners often realize full equipment payback within 18 to 36 months. For more details on retrofitting existing facilities, see how to Save Green by Going Green with Chicago Commercial Lighting Upgrades.
Smart Controls and Motion Sensors
Pairing solid-state LED fixtures with intelligent control systems unlocks an extra tier of efficiency. Integrated motion sensors, high-frequency microwave occupancy sensors, and bi-level dimming drivers can reduce off-peak energy usage by an extra 30% in low-traffic areas.
Key smart control options include:
- Photocells (Dusk-to-Dawn): Automatically activate lights when ambient daylight drops below 10-20 lux and turn them off at sunrise.
- Bi-Level Motion Sensors: Detect vehicle or pedestrian movement within a 30 to 50-foot radius. When a lot is vacant at midnight, the fixture dims down to 20% or 30% output, maintaining baseline security while conserving power. Upon detecting motion, it ramps up to 100% brightness.
- 0-10V Dimming Systems: Low-voltage control wires (typically Purple for dim positive [+] and Pink/Gray for dim negative [-]) connect to centralized timers or energy management systems.
Installer Caution: If 0-10V dimming leads are not connected to an active dimmer, each lead must be capped separately with wire nuts. Tying dimming leads together or grounding them will lock the fixture into minimum dimming output or cause complete driver shutdown!
Securing DLC V6.0 Utility Rebates in 2026
Local electric utilities offer substantial cash rebates for commercial properties that upgrade to energy-efficient lighting. These incentives range from $50 to $300+ per fixture, significantly lowering upfront installation costs.
However, qualifying for these financial incentives requires meeting strict certification standards:
- DLC SSL V6.0 Compliance: DesignLights Consortium (DLC) sets strict efficiency and optical standards across North America. The active standard for utility rebates is DLC SSL V6.0. Legacy DLC V5.1 listings were fully delisted on December 15, 2026.
- QPL Documentation: To claim rebates, contractors must export Qualified Products List (QPL) proof showing the exact fixture model number during both the initial design submittal and the final purchase phase.
- Professional Installation: Many utility rebate programs require work to be performed by a licensed electrical contractor to verify safety and power quality compliance.
To discover available grants and rebate structures for your business location, read The Business Guide to Commercial Electric Solutions and Incentives.
Post-Installation Maintenance and Avoiding Common Pitfalls
Even premium commercial LED hardware can experience premature failure if shortcuts are taken during installation. Understanding common trade pitfalls ensures your system operates trouble-free for decades.
If you are evaluating an existing setup for upgrades, review our guide on How to Retrofit LED Lighting the Right Way.
Common Pitfalls to Avoid in Parking Lot Lighting Installation
- Improper Grounding: Failing to establish a continuous earth ground back to the main distribution panel creates serious shock hazards and leaves expensive drivers vulnerable to voltage surges. Always utilize 10 kV integrated surge suppressors and verify ground wire continuity.
- Inadequate Weather Sealing: Junction box covers, pole handholes, and top tenon caps must utilize NEMA 4X / IP65 silicone gaskets. Water seeping into wire nuts causes short circuits and trips breakers during winter freeze-thaw cycles.
- Untightened Set Screws: Set screws on slip-fitters or tenon adapters that are hand-tightened without a torque wrench will loosen from wind vibration, causing light heads to shift out of alignment or spin freely.
- Incorrect Supply Voltage: Applying 480V utility power to a standard 120-277V driver will instantly destroy the electronic ballast. Always test line voltage at the pole base handhole prior to making wire splices.
Preventive Maintenance Checklist
Keep your commercial parking lot lighting performing reliably by following this periodic maintenance schedule:
- [ ] Bi-Annual Visual Inspection: Inspect pole bases, anchor bolts, and grout lines for physical rust, hairline concrete cracking, or ground movement.
- [ ] Optical Lens Cleaning: Wipe optical polycarbonate or glass lenses clean of environmental grime, dust, and spider webs to recover lost lumen output.
- [ ] Torque Re-Checking: Check mounting bracket bolts and slip-fitter set screws annually with a calibrated torque wrench.
- [ ] Photocell Testing: Cover photocell optical sensors during daytime site checks to verify automated switching response.
- [ ] Thermal Management Check: Inspect driver housing heat sinks for accumulated debris or bird nests that hinder heat dissipation.
Property managers needing help with older systems or experiencing sudden circuit outages can rely on experienced commercial electrical contractors to perform timely repairs and maintain safe, fully functional lighting.
Frequently Asked Questions About Parking Lot Lighting
How deep should a foundation hole be for a parking lot light pole?
A dependable rule of thumb for calculating light pole foundation depth is equal to at least 1/6th of the total pole height plus an extra 2 feet. For instance, a standard 20-foot commercial light pole requires a foundation hole that is roughly 5.33 feet deep.
Depth requirements vary based on local frost lines, regional wind loads, Effective Projected Area (EPA) ratings of attached fixtures, and soil bearing capacity. Foundations must extend below the frost line (36 to 48 inches in Cook County) to prevent structural shifting during ground freezes.
How far below grade must underground electrical conduit be buried?
The National Electrical Code (NEC Table 300.5) mandates that underground branch circuits enclosed within Rigid Nonmetallic Conduit (Schedule 40 or Schedule 80 PVC) must be buried at a minimum depth of 18 inches below finished grade.
If buried under commercial driveways or vehicle parking areas, depth requirements may increase to 24 inches. Conduit laid under heavy structural slabs requires a minimum of 4 to 12 inches depending on concrete thickness and reinforcement.
How long should concrete pole foundations cure before mounting hardware?
Concrete pole foundations must cure for a minimum of 72 hours (3 full days) before installing light poles, mounting brackets, or heavy luminaires.
Commercial concrete must meet a minimum compressive strength of 3,000 PSI at full cure. Allowing the concrete adequate curing time prevents structural anchor bolts from cracking or shifting inside the pier under high wind loads during pole erection.
Bright, Safe, and Efficient Commercial Outdoor Lighting
A properly executed parking lot lighting installation protects your property, reduces liability, enhances nighttime security, and lowers monthly operating costs. From site assessments and photometric planning to underground trenching, precision mounting, and DLC V6.0 rebate processing, taking a professional approach ensures long-term reliability.
At Energy Co., our team of licensed, insured commercial electricians brings extensive experience to businesses across Schaumburg, Hoffman Estates, Elk Grove Village, Palatine, Arlington Heights, Mount Prospect, Chicago, and Cook County. Whether you need a ground-up installation for new construction or an energy-efficient LED retrofit, we manage every step of the process in full compliance with local building codes.
Ready to transform your commercial property with high-efficiency lighting? Explore our full range of expert Commercial Electrical Services or learn how our experienced team can elevate your business facilities by browsing our showcase of Commercial Lighting Services and Retrofits. Contact us today to schedule your comprehensive site evaluation and photometric lighting review!